How I got here #
The house we moved into had very little space that was appropriate for growing anything so I wanted to maximize the space available. I was also tired of kneeling on the ground pulling weeds so the thought of a grow bed that was over 40" tall was very appealing to me. Couple that with Colorado's rock strewn bentonite clay and aquaponics just kept looking better and better.
Starting the Build
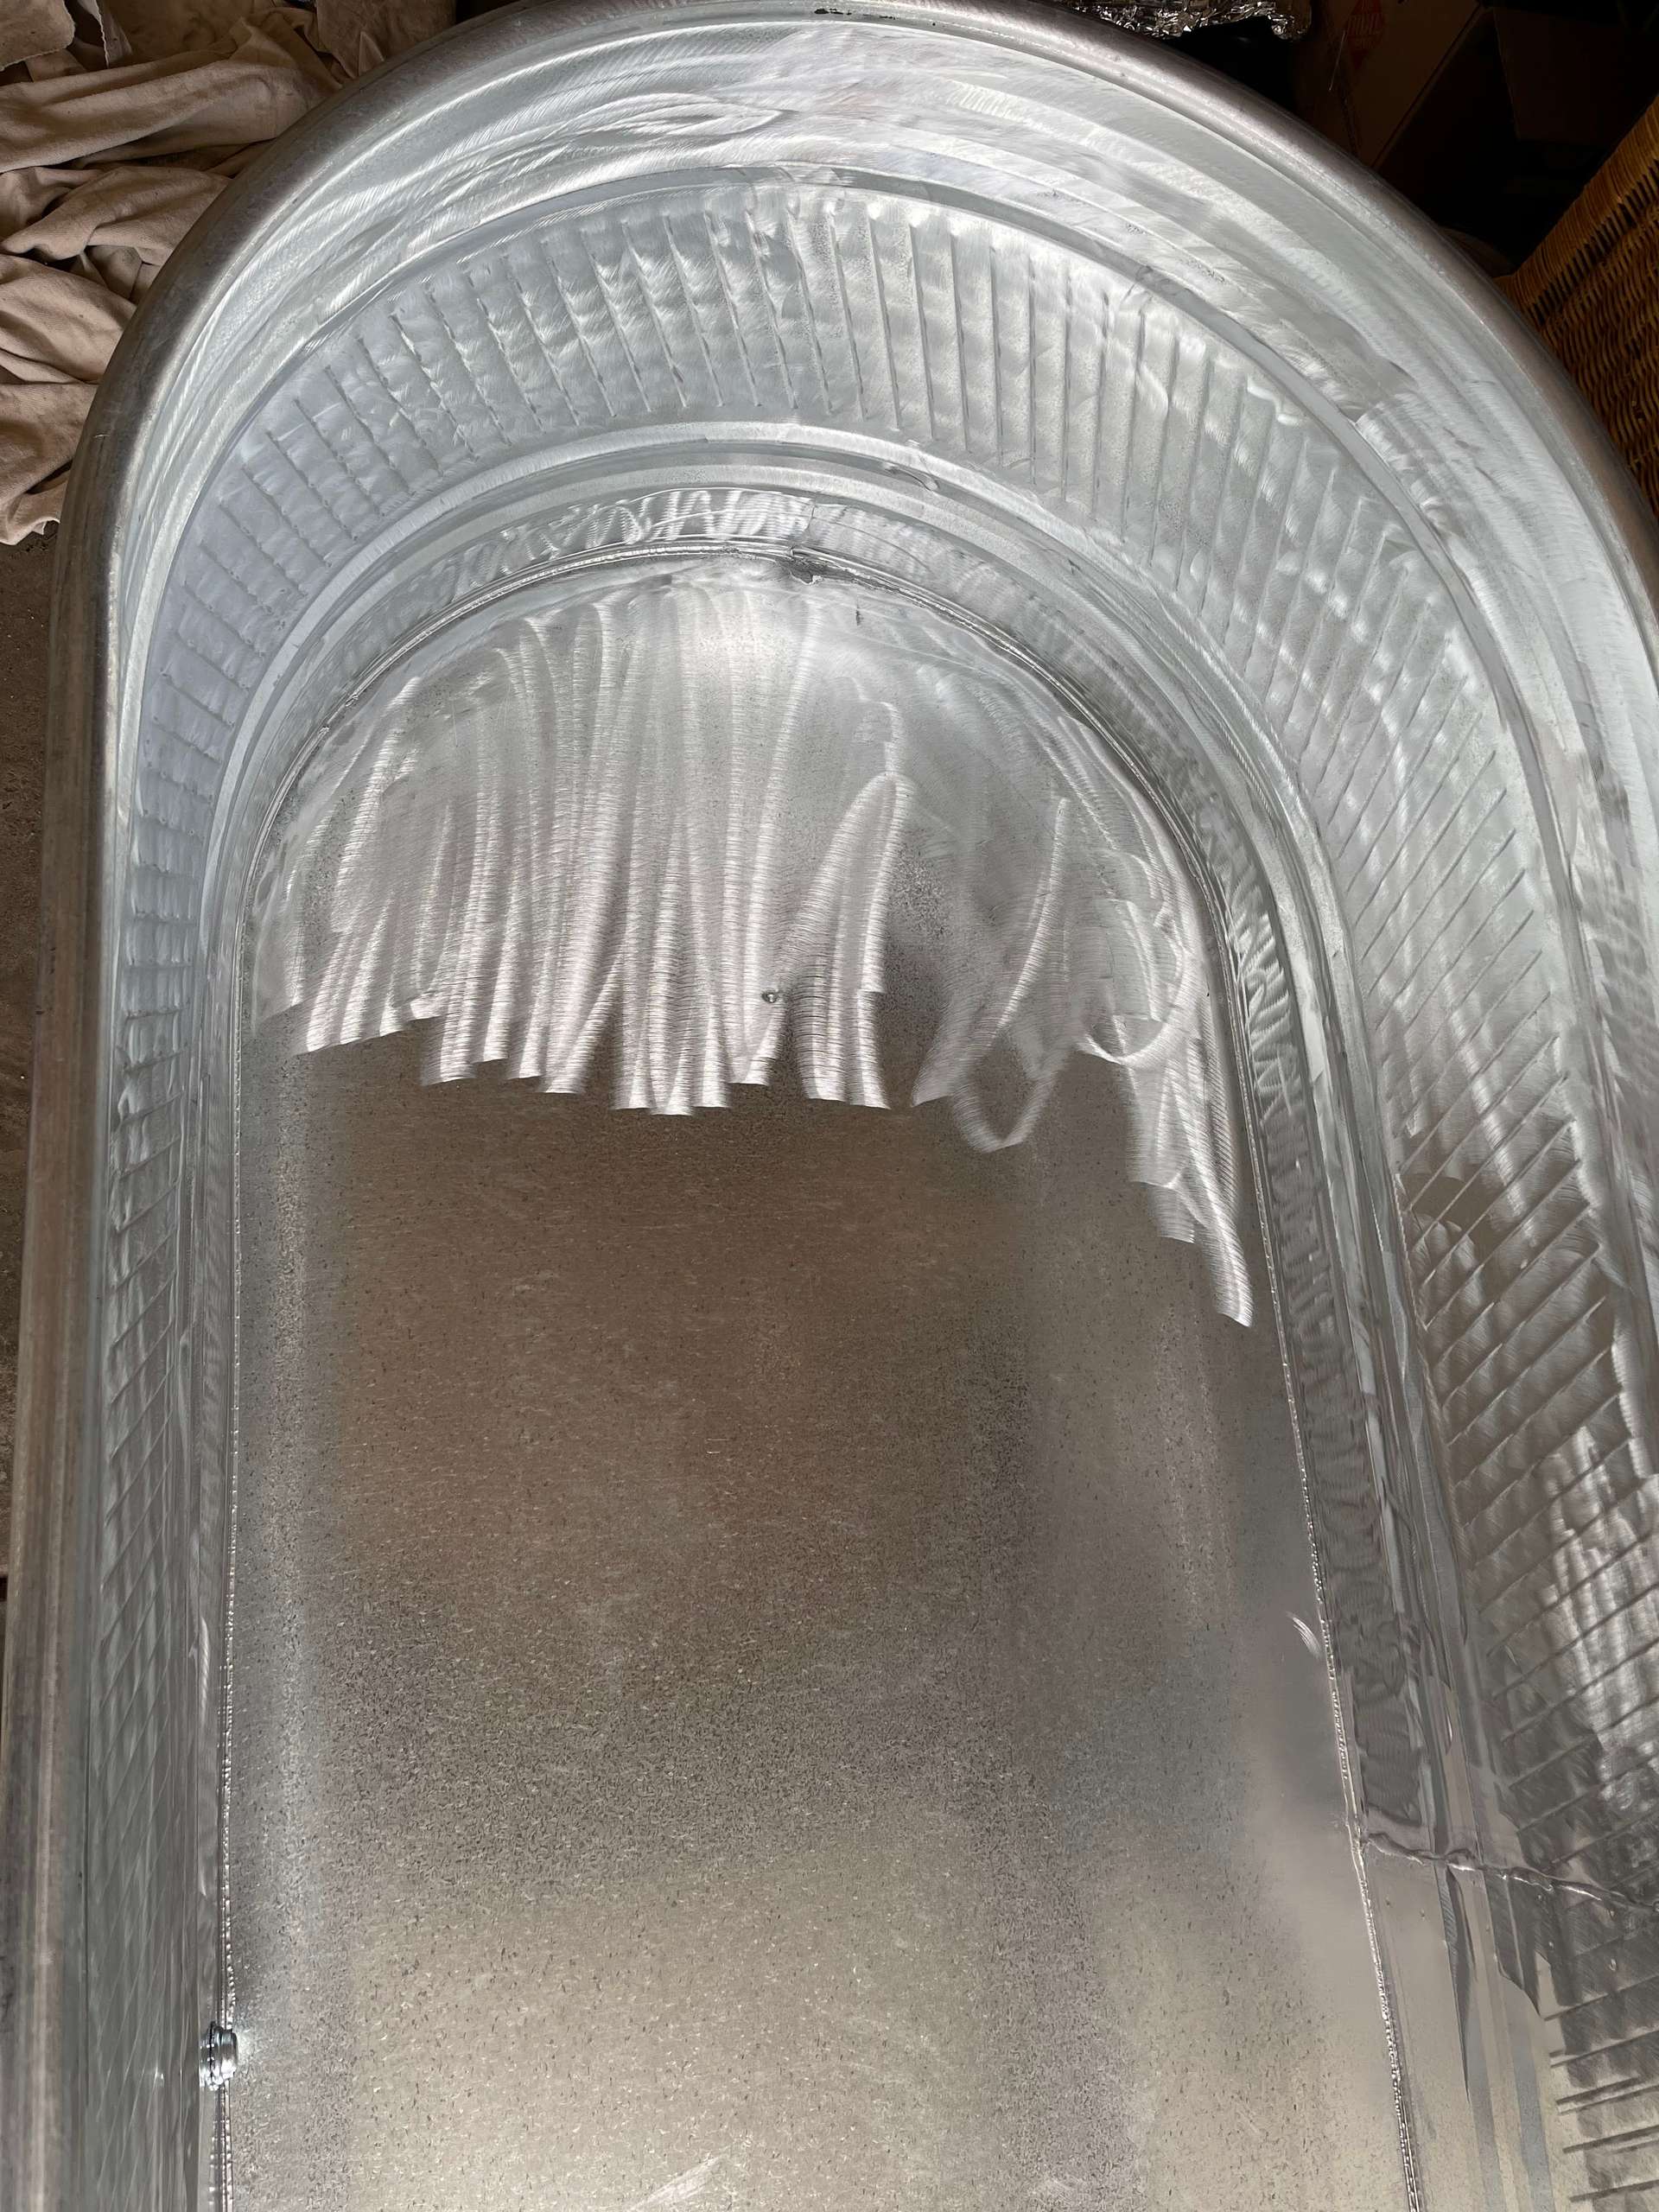
In order to make the most of the space I had, I decided a 3' wide x 8' long x 2' deep stock tank was going to be the best bang for my buck. I could only find a galvanized tank in the shape and size I wanted so I had to line the inside with Pond Armor or else the galvanization could kill the fish. Using a liner would've been much less up front but it wouldn't look nearly as nice and would have tons of folds and wrinkles where algae could build up. In order to make sure the Pond Armor would stick, they recommend grinding it with 60 grit sand paper in an angle grinder then priming it with self etching primer.
| Grinding | Etching |
|---|
 |  |
After two coats.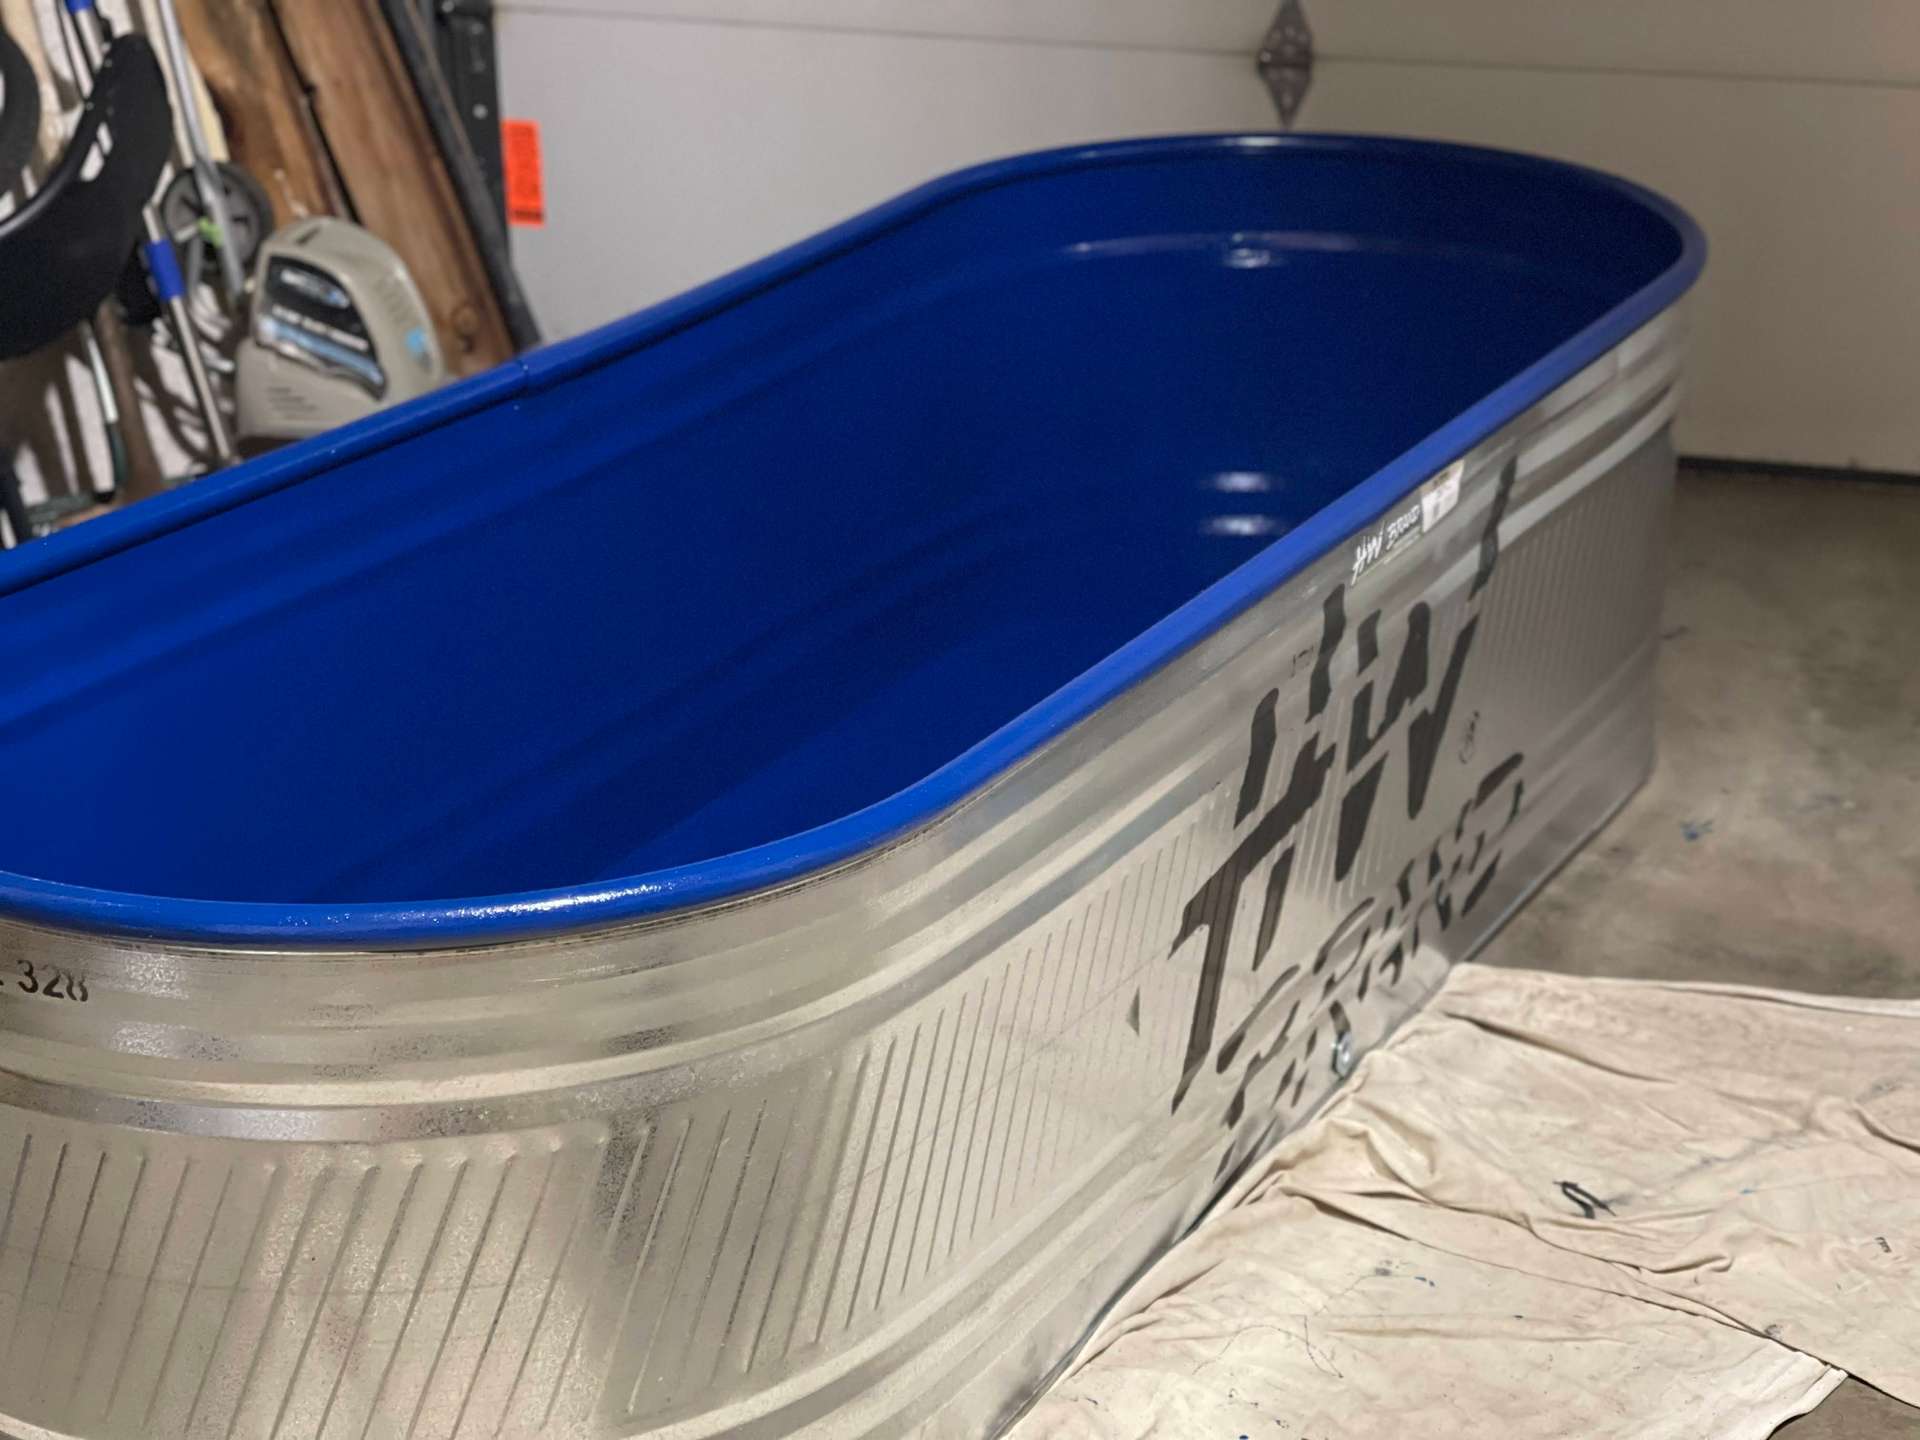
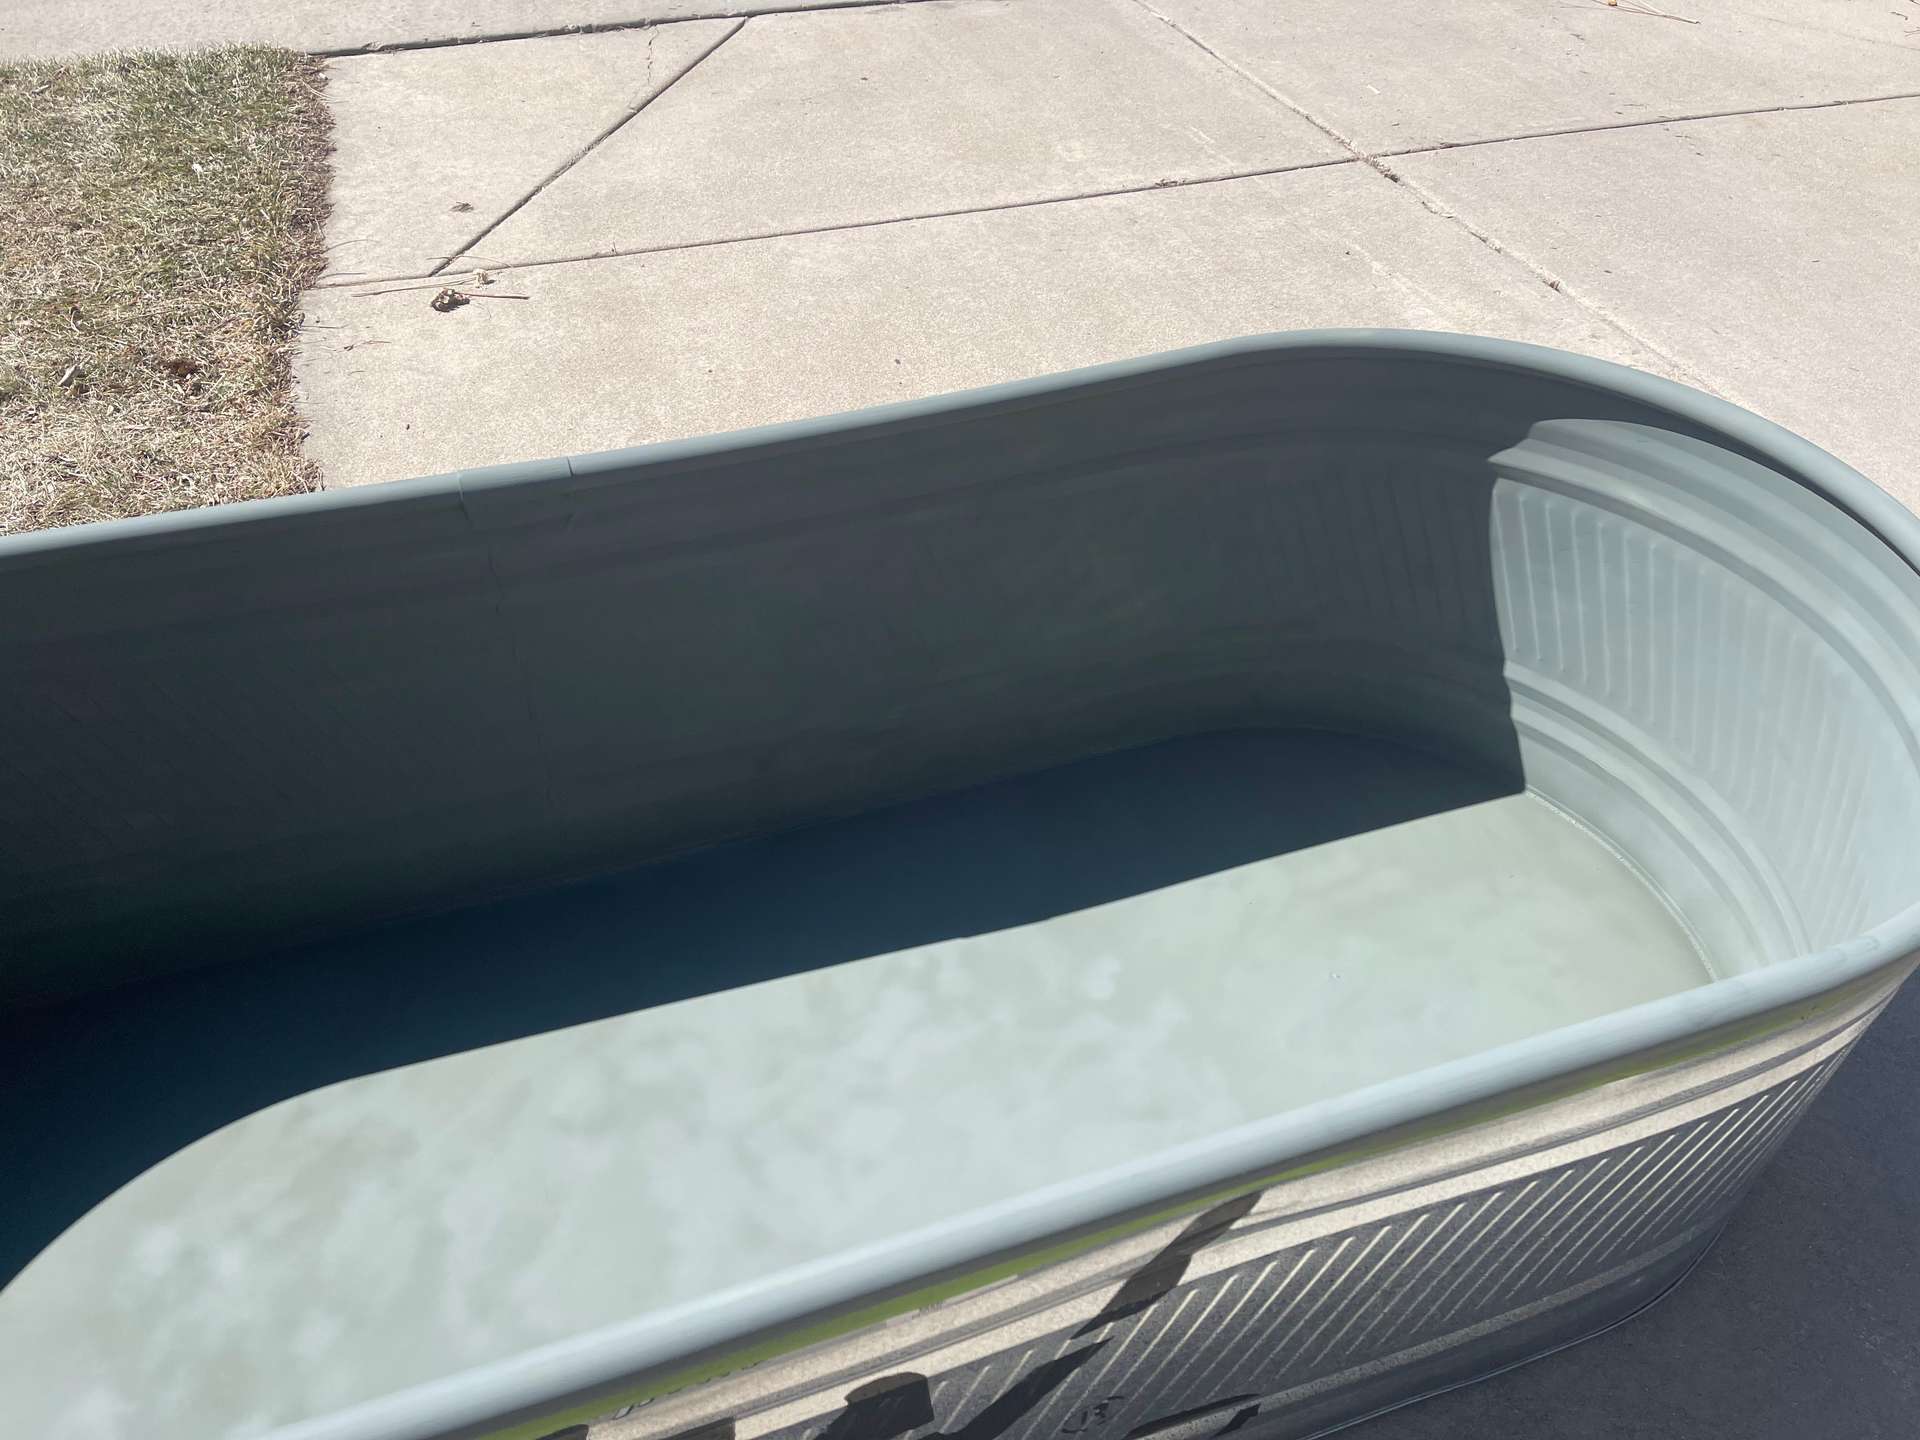
You don't need to thin the Pond Armor and I did not, but I think that lead to a lot of air bubbles. It was very thick and hard to apply so I kept going back over it to spread it further. The air bubbles don't hurt anything but the finish isn't as smooth as it could be. It was much more flexible than I thought it would be.
Once the Pond Armor dried, I moved it outside to it's final resting place and started building the sand bed. The sand bed needed to be able to support almost 3000lbs. I had some leftover 4x4s from a deck project and had to purchase some pressure treated 2x4s to complete the platform base.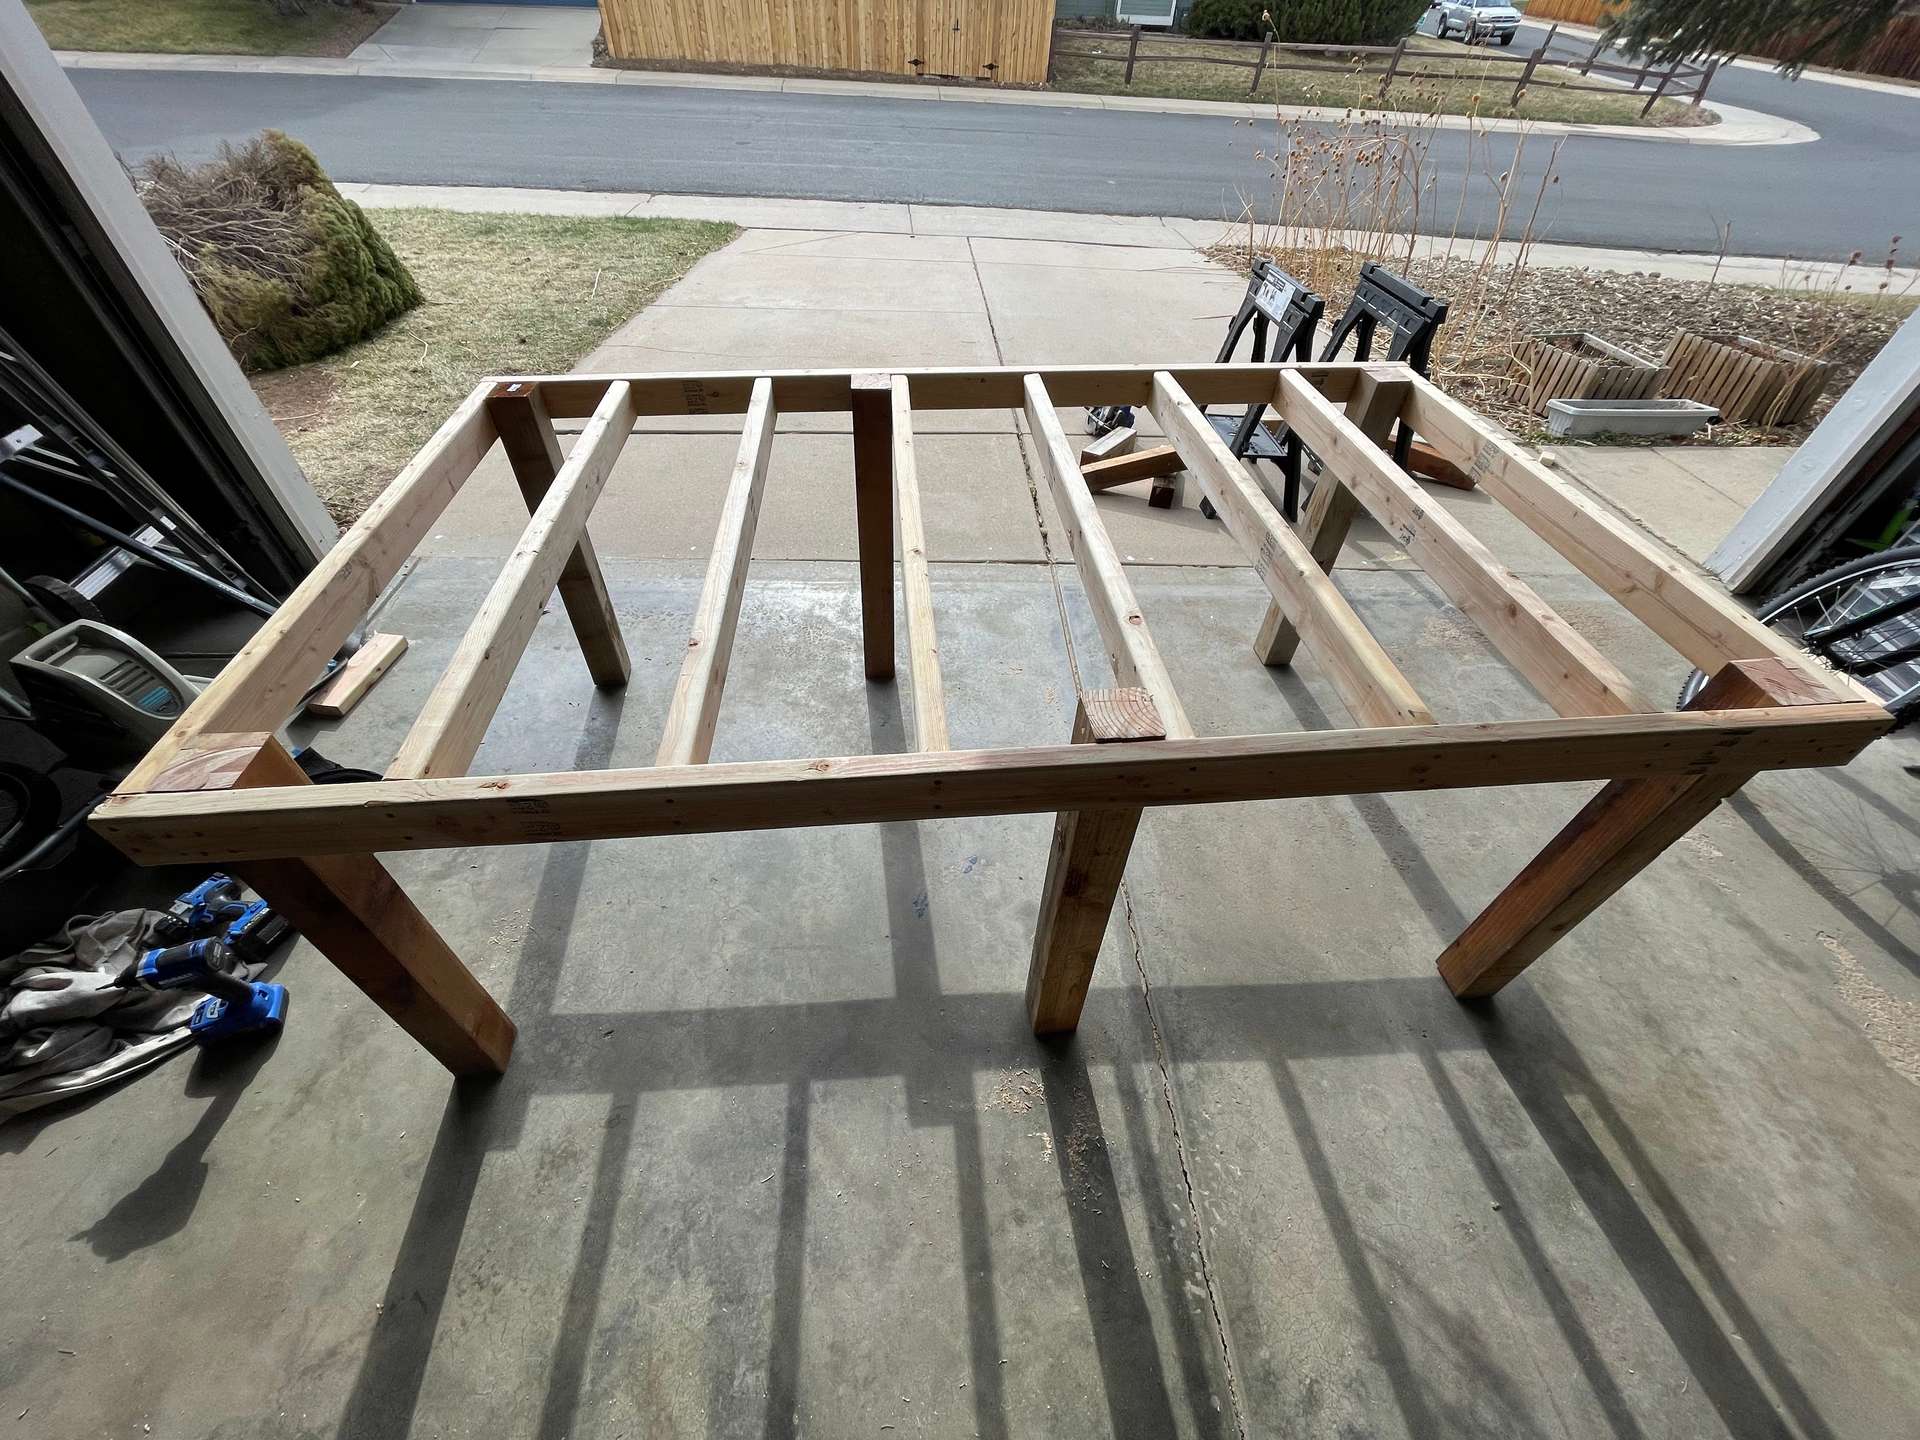
They recommend the sand bed be at least 12" deep, I made mine 16" to allow a little buffer. I corner cut some 4x4 scraps to make chamfered corners to improve the fit of the Dura-skrim liner and add some extra support. I used 1/2" thick plywood for the sides and bottom. I sized the platform so that a sheet of plywood fit the base perfectly then the walls being 16" tall, I could just cut it into three equal pieces and cut one in half for the ends, so just three cuts.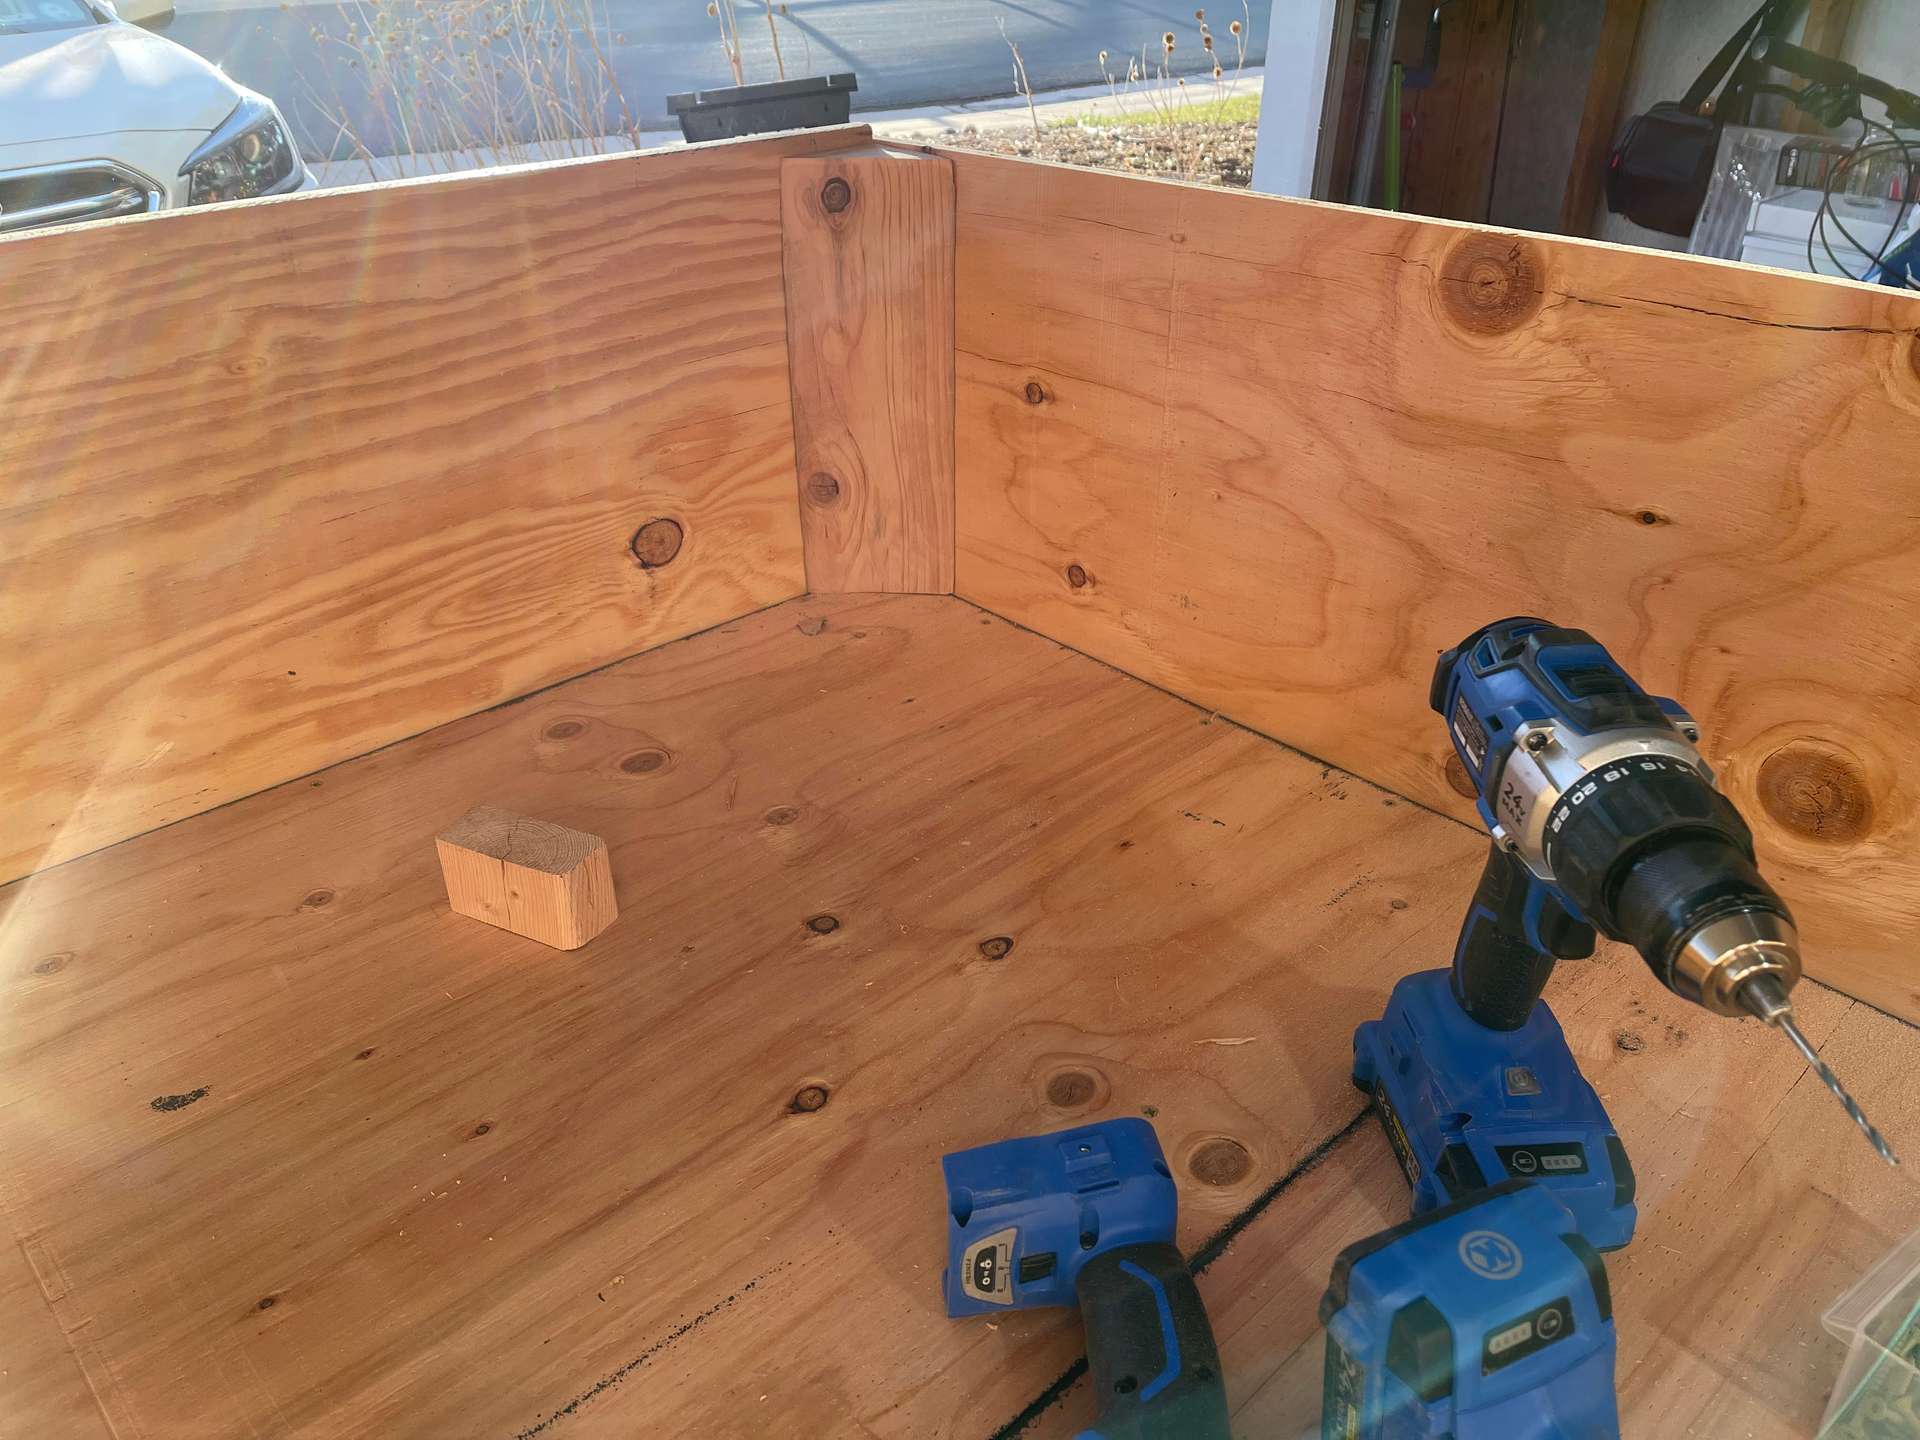
Once I lined it, I installed a 4" shower drain, covered it with some scrap shade sail and started filling it with 1" of gravel for extra drainage, then filled the rest with sand. You do want to do a vinegar test to make sure the sand isn't going to change your pH so add some vinegar and make sure it doesn't bubble and react. It should also be fairly course, .5-1.5mm and you should make sure it drains quickly enough.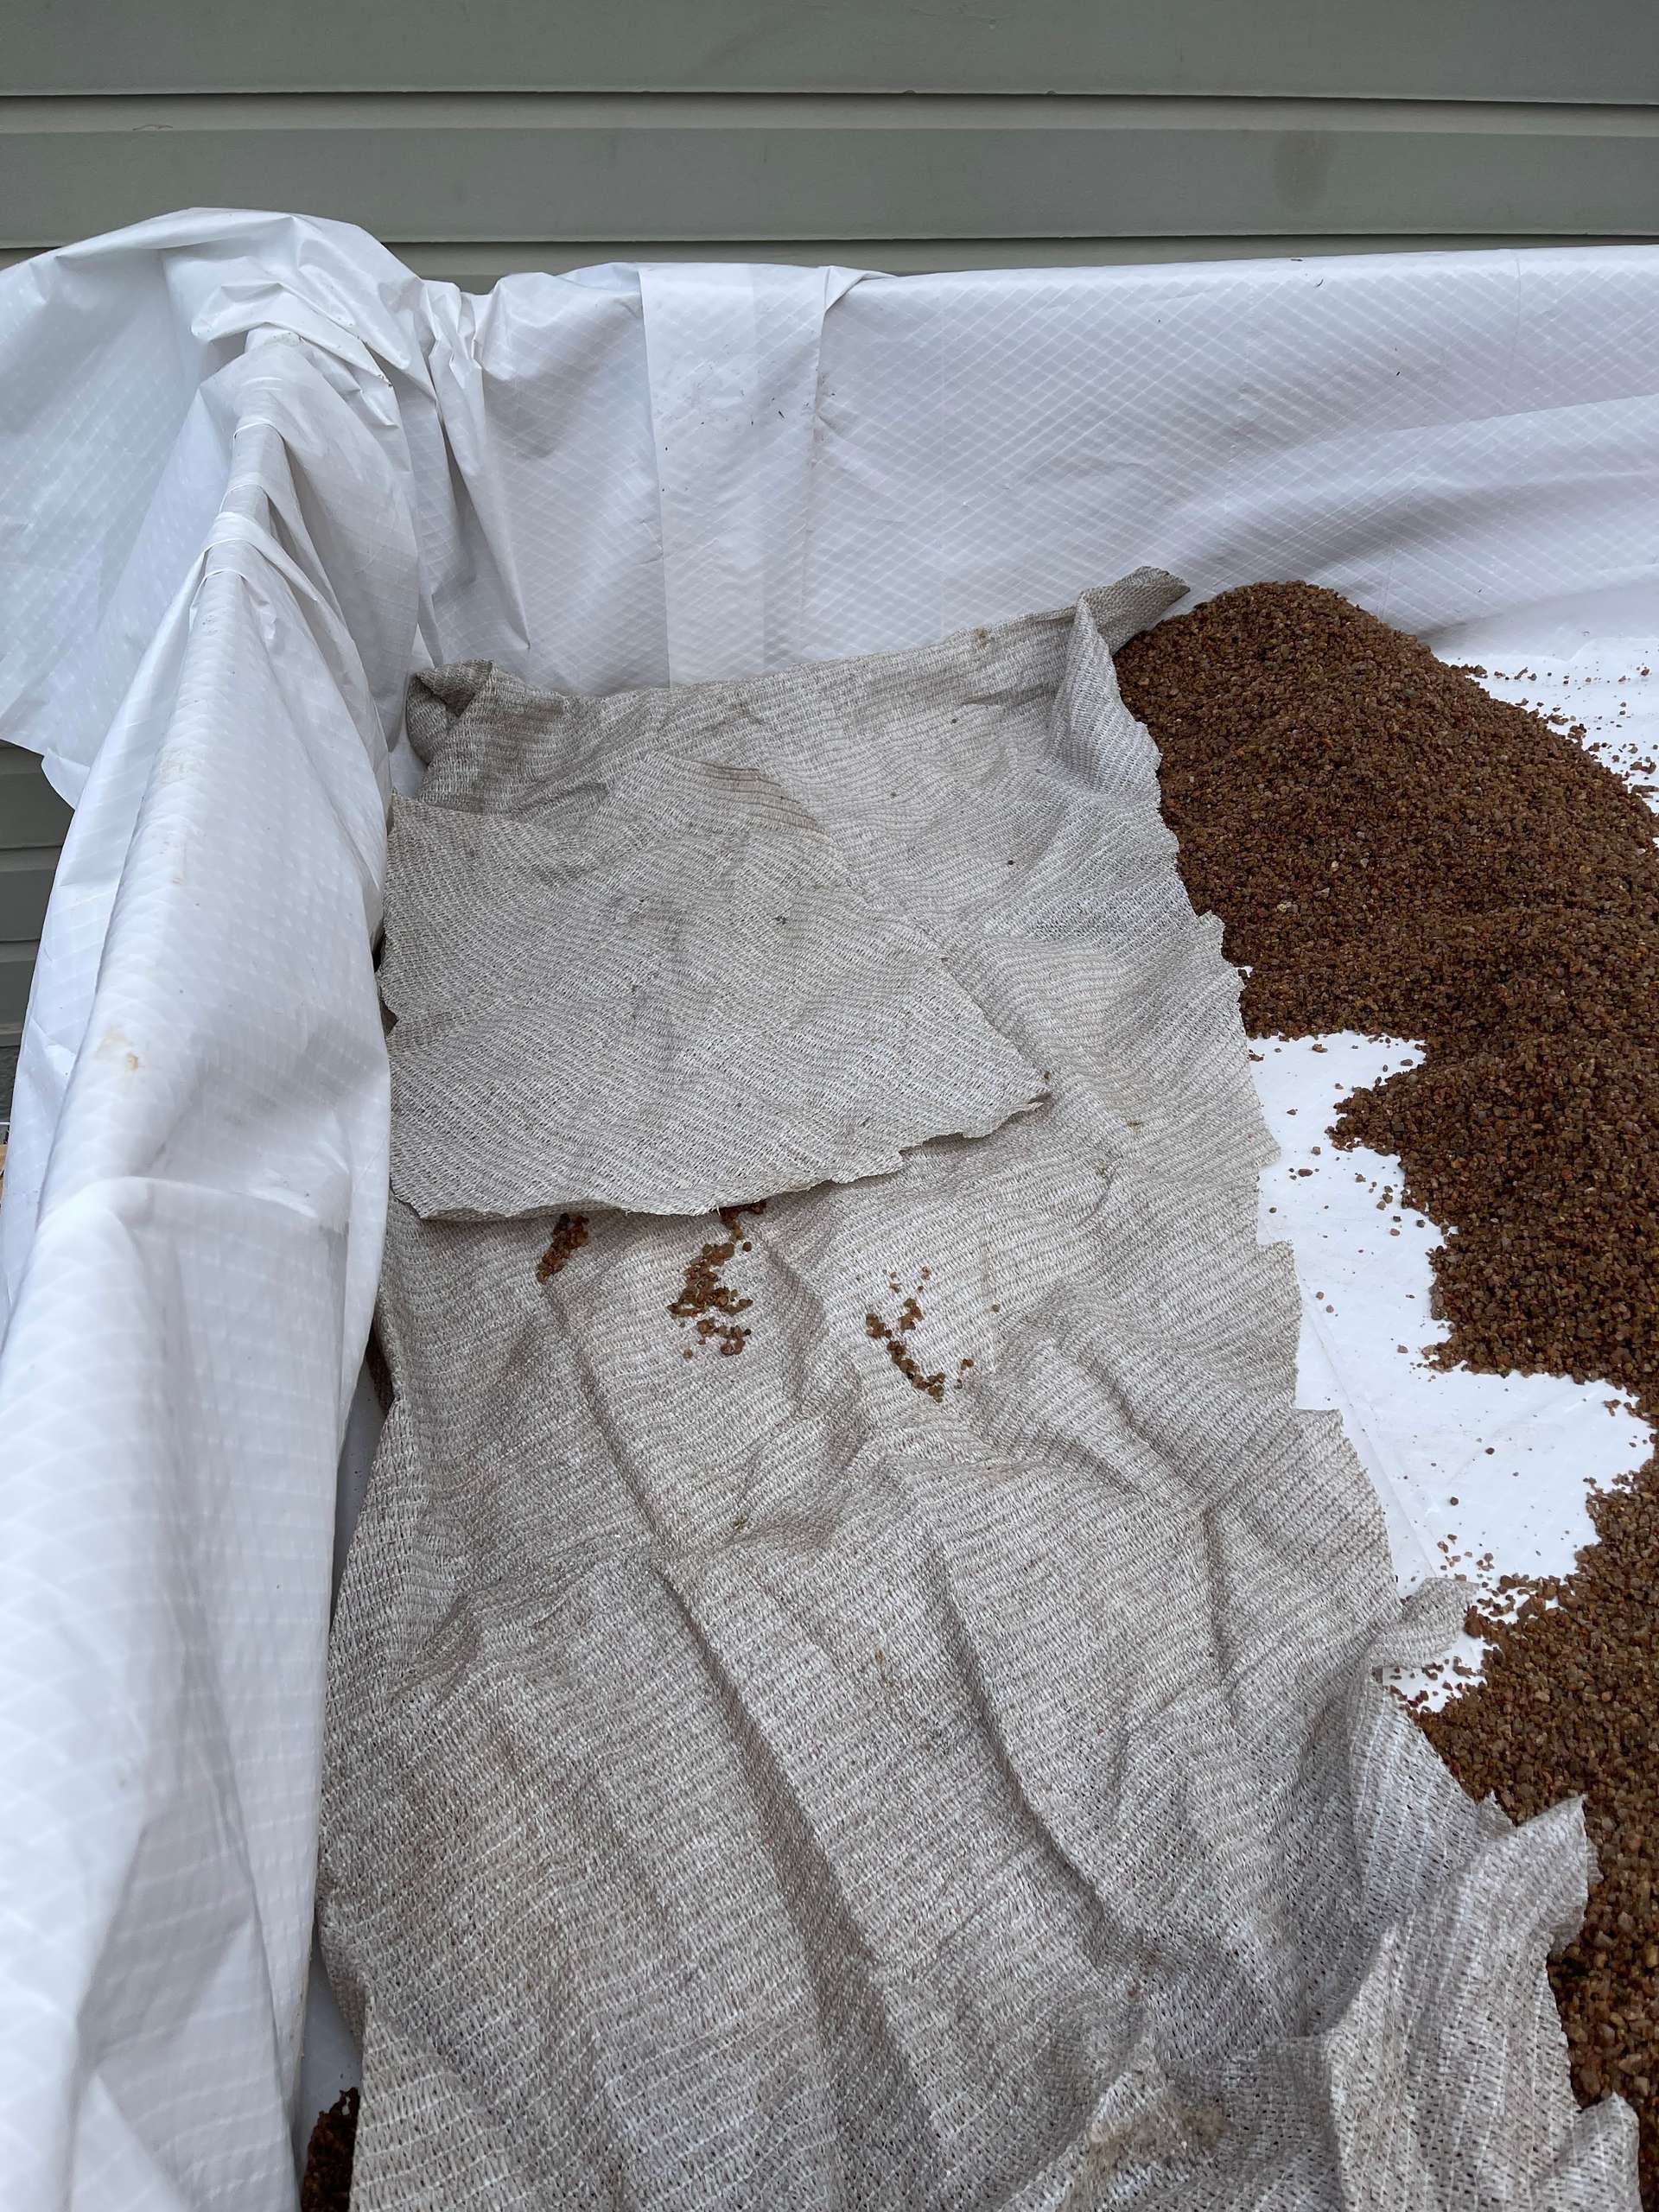
Here it is set in place.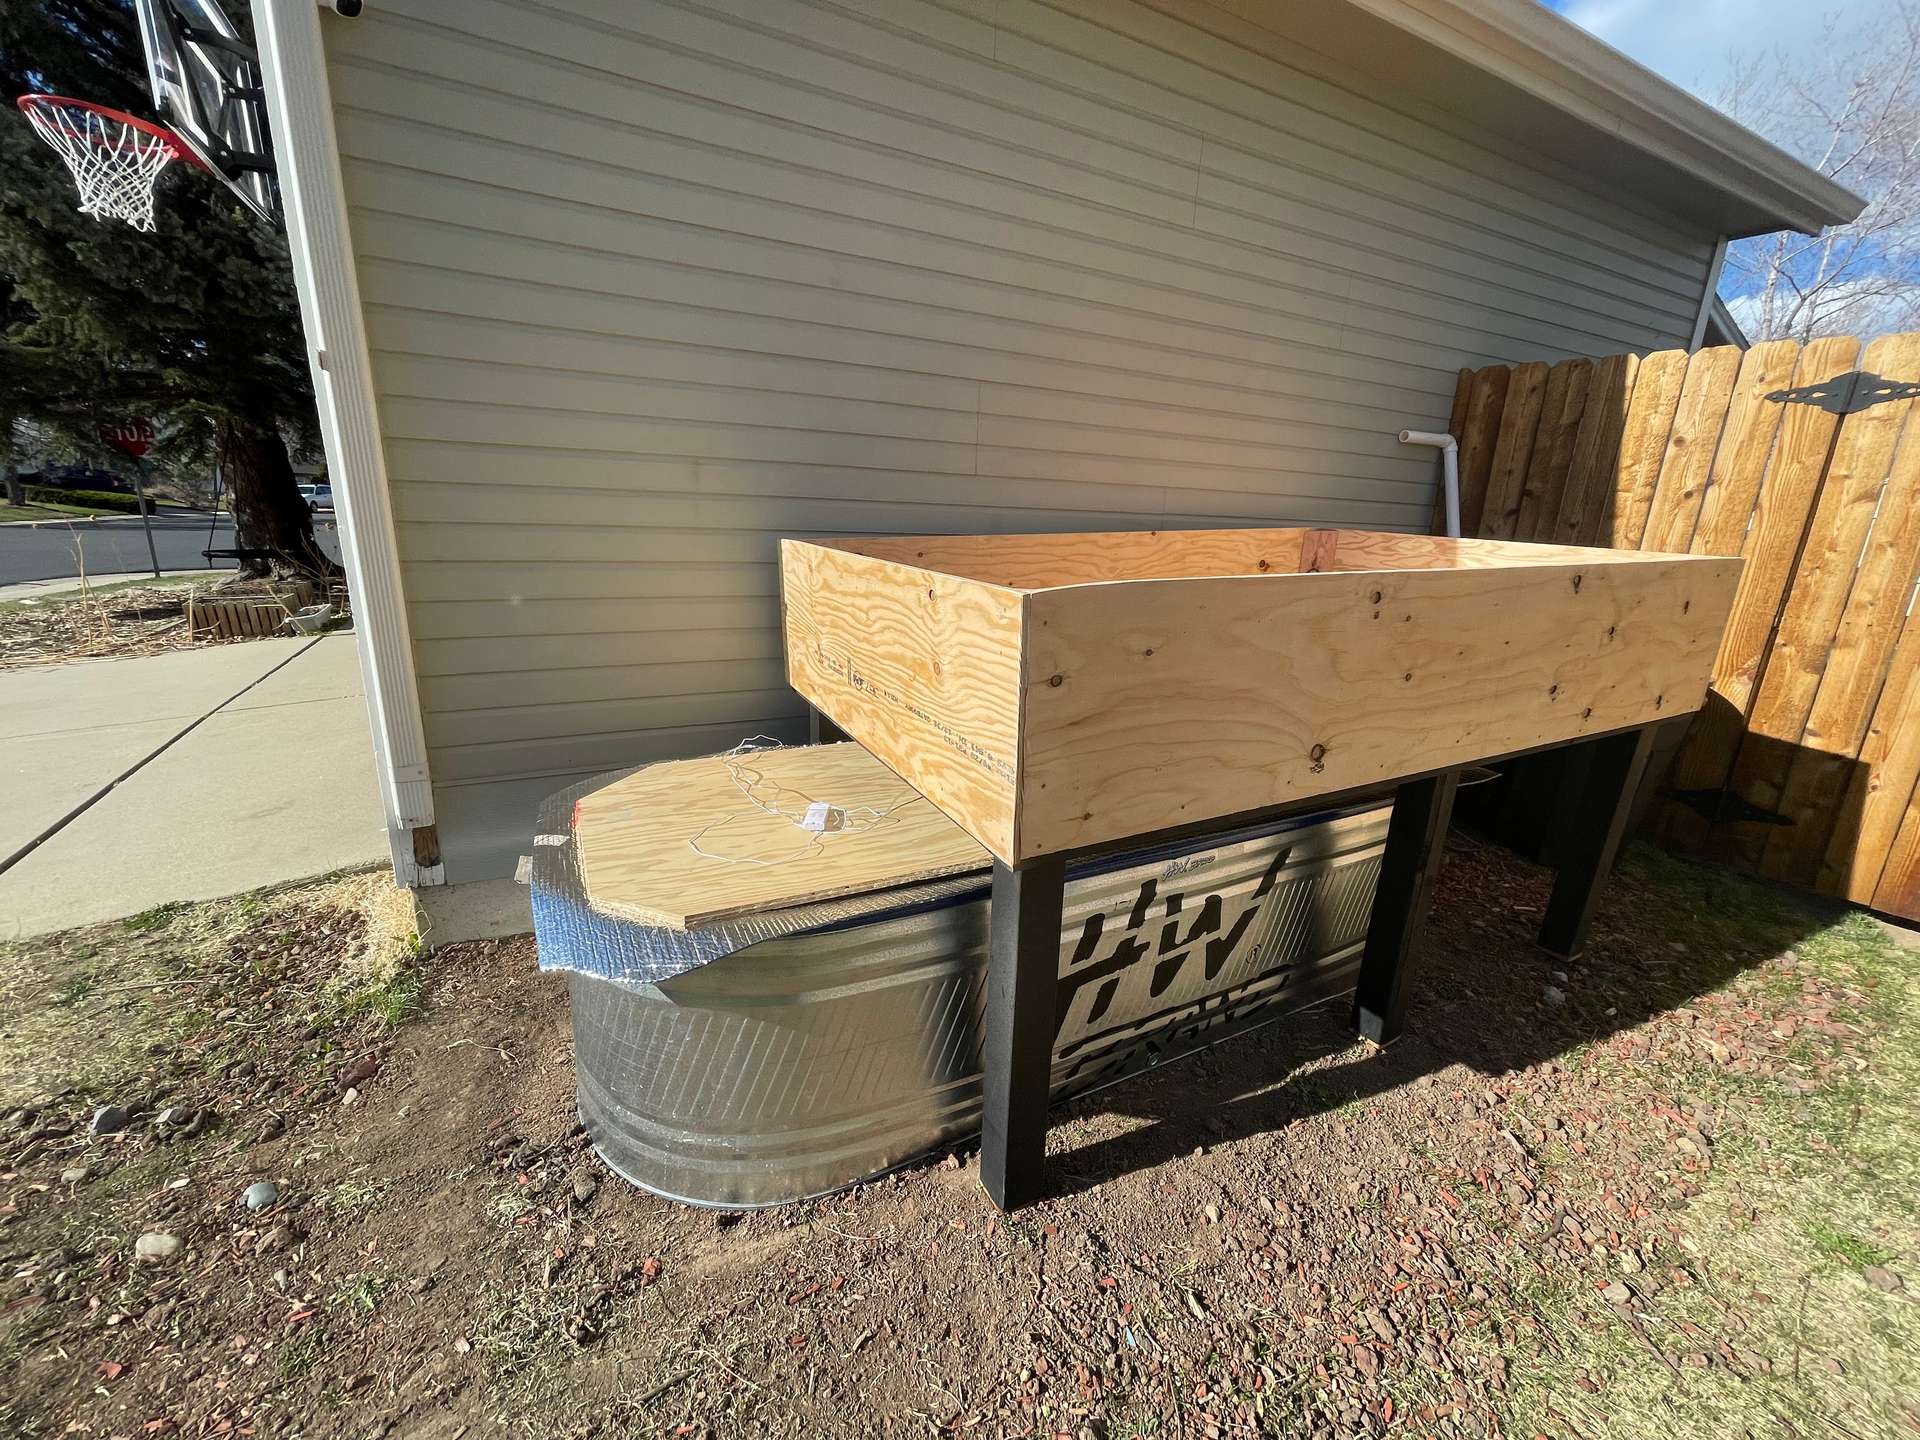
I was pretty sure that the water was properly cycled but I wanted to get a few fish to test the waters before adding all of the koi so I got a few comets for cheap at the pet store.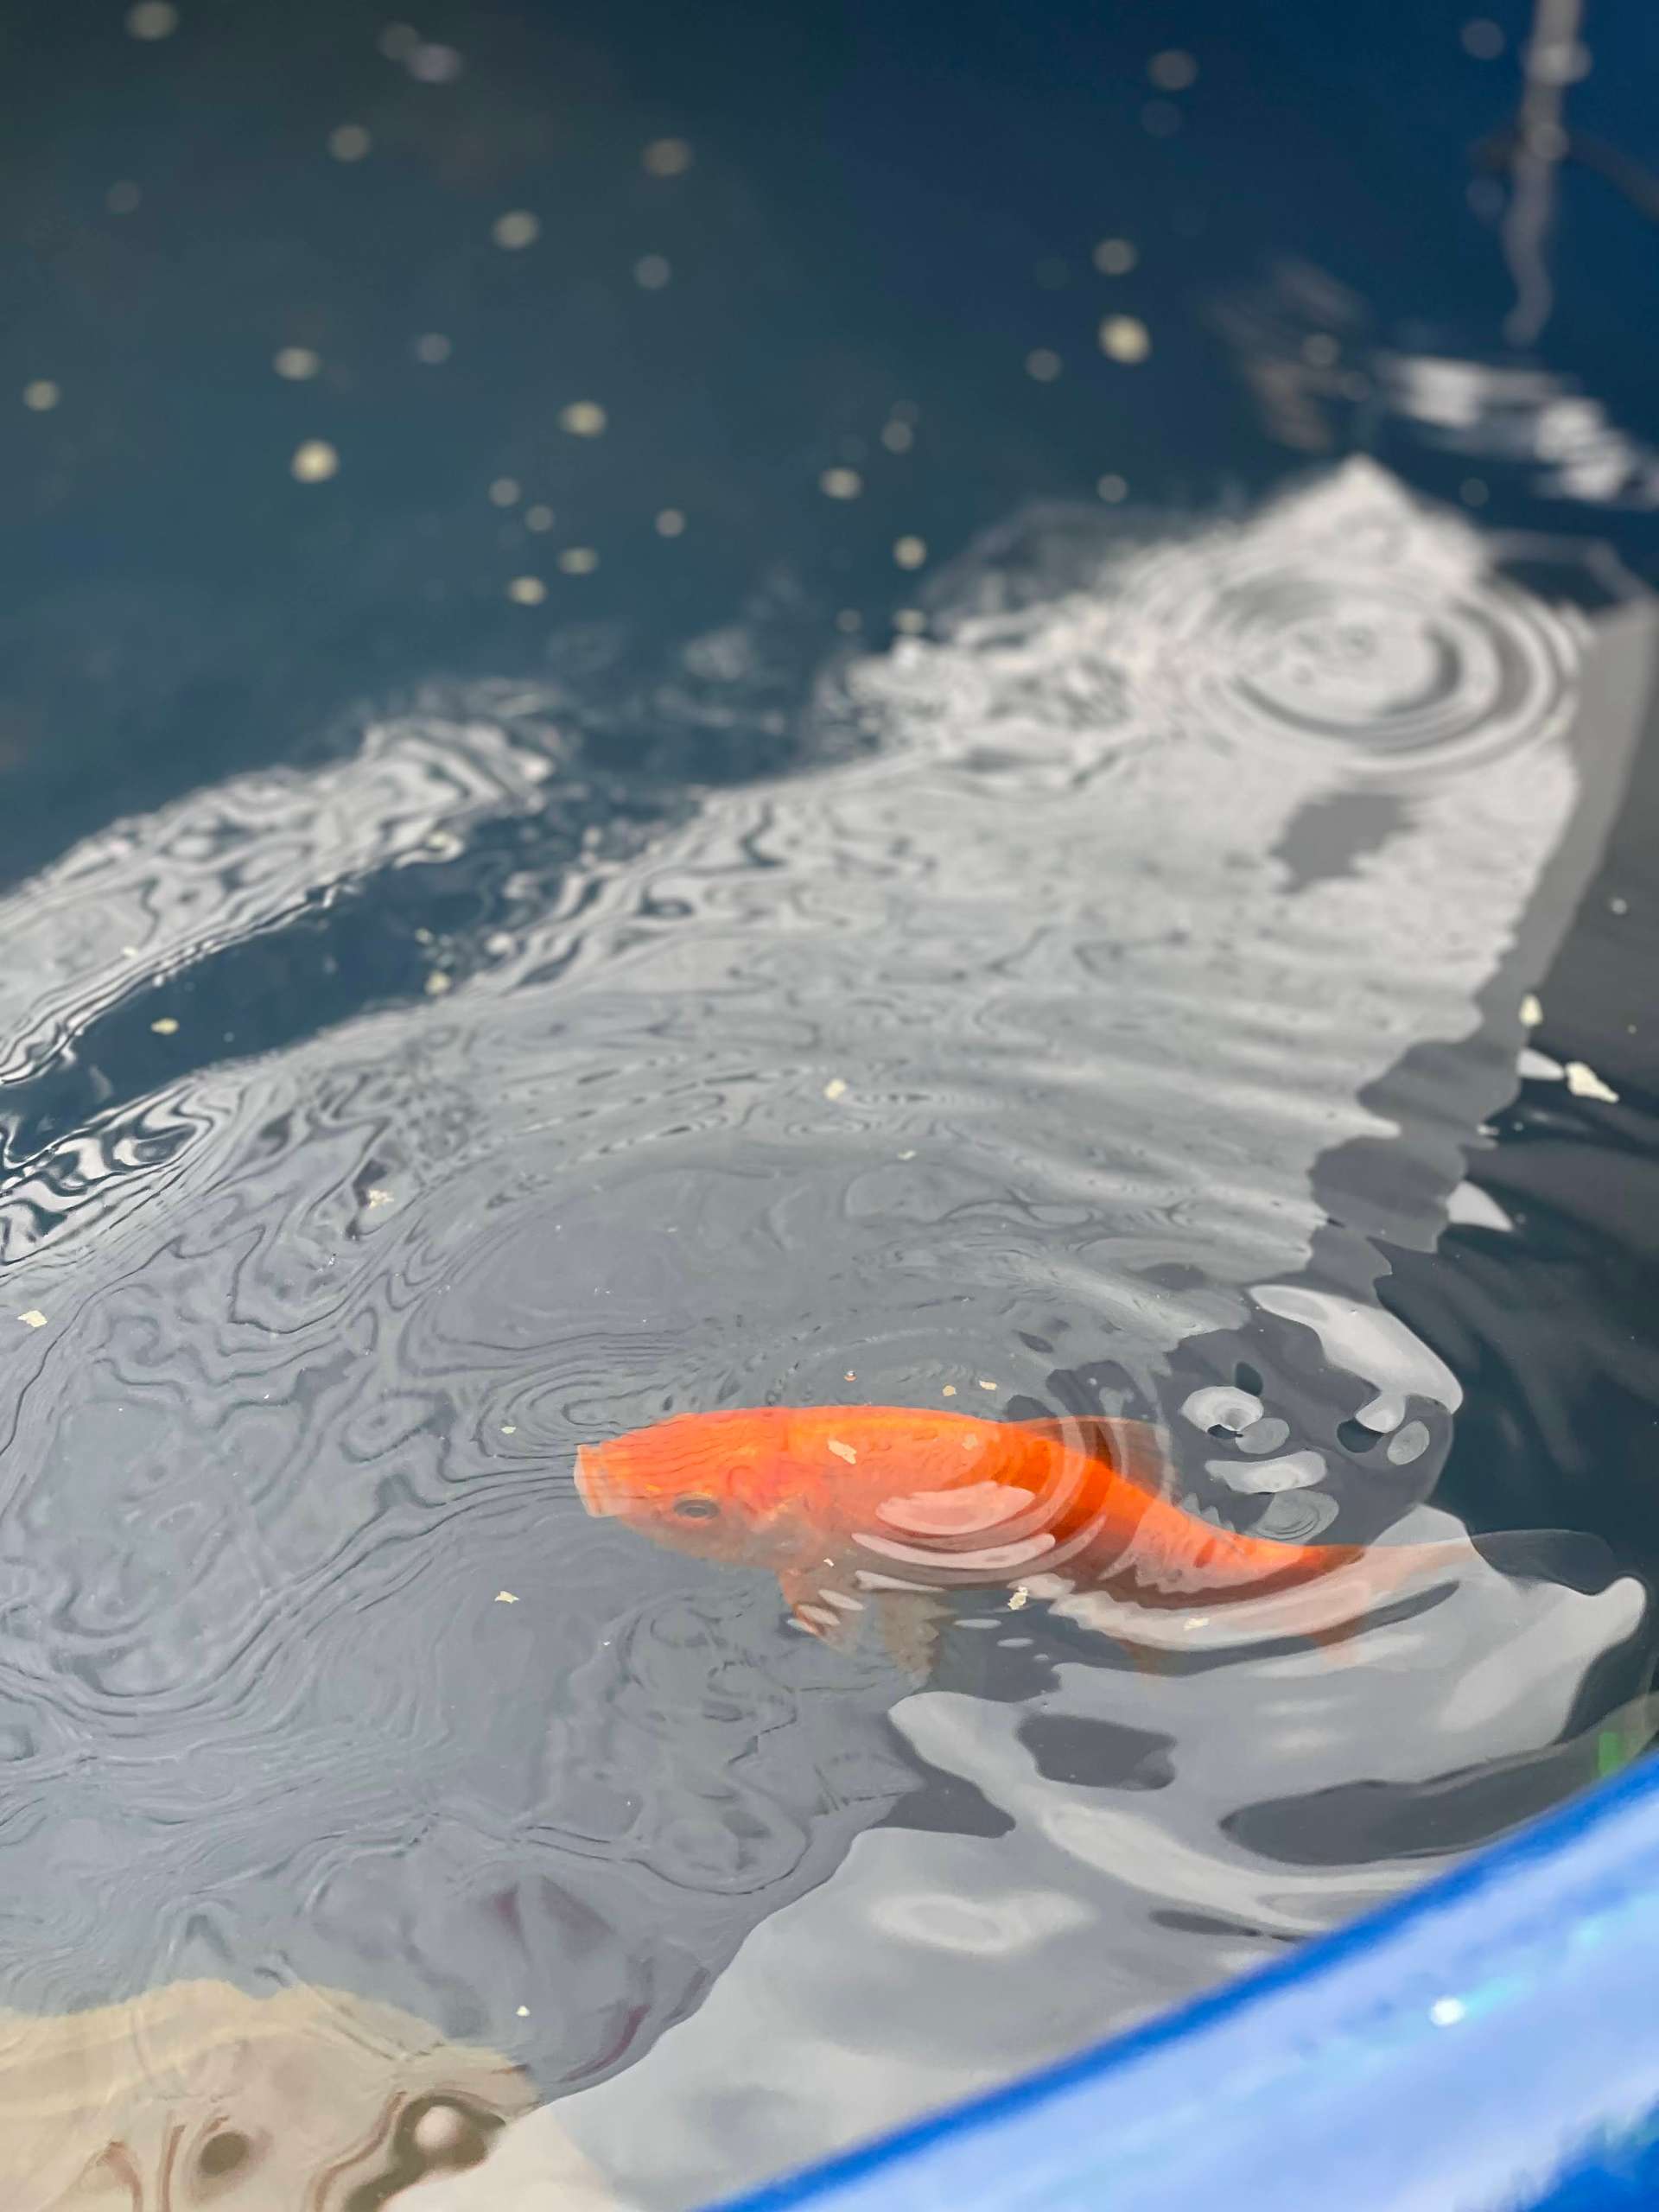
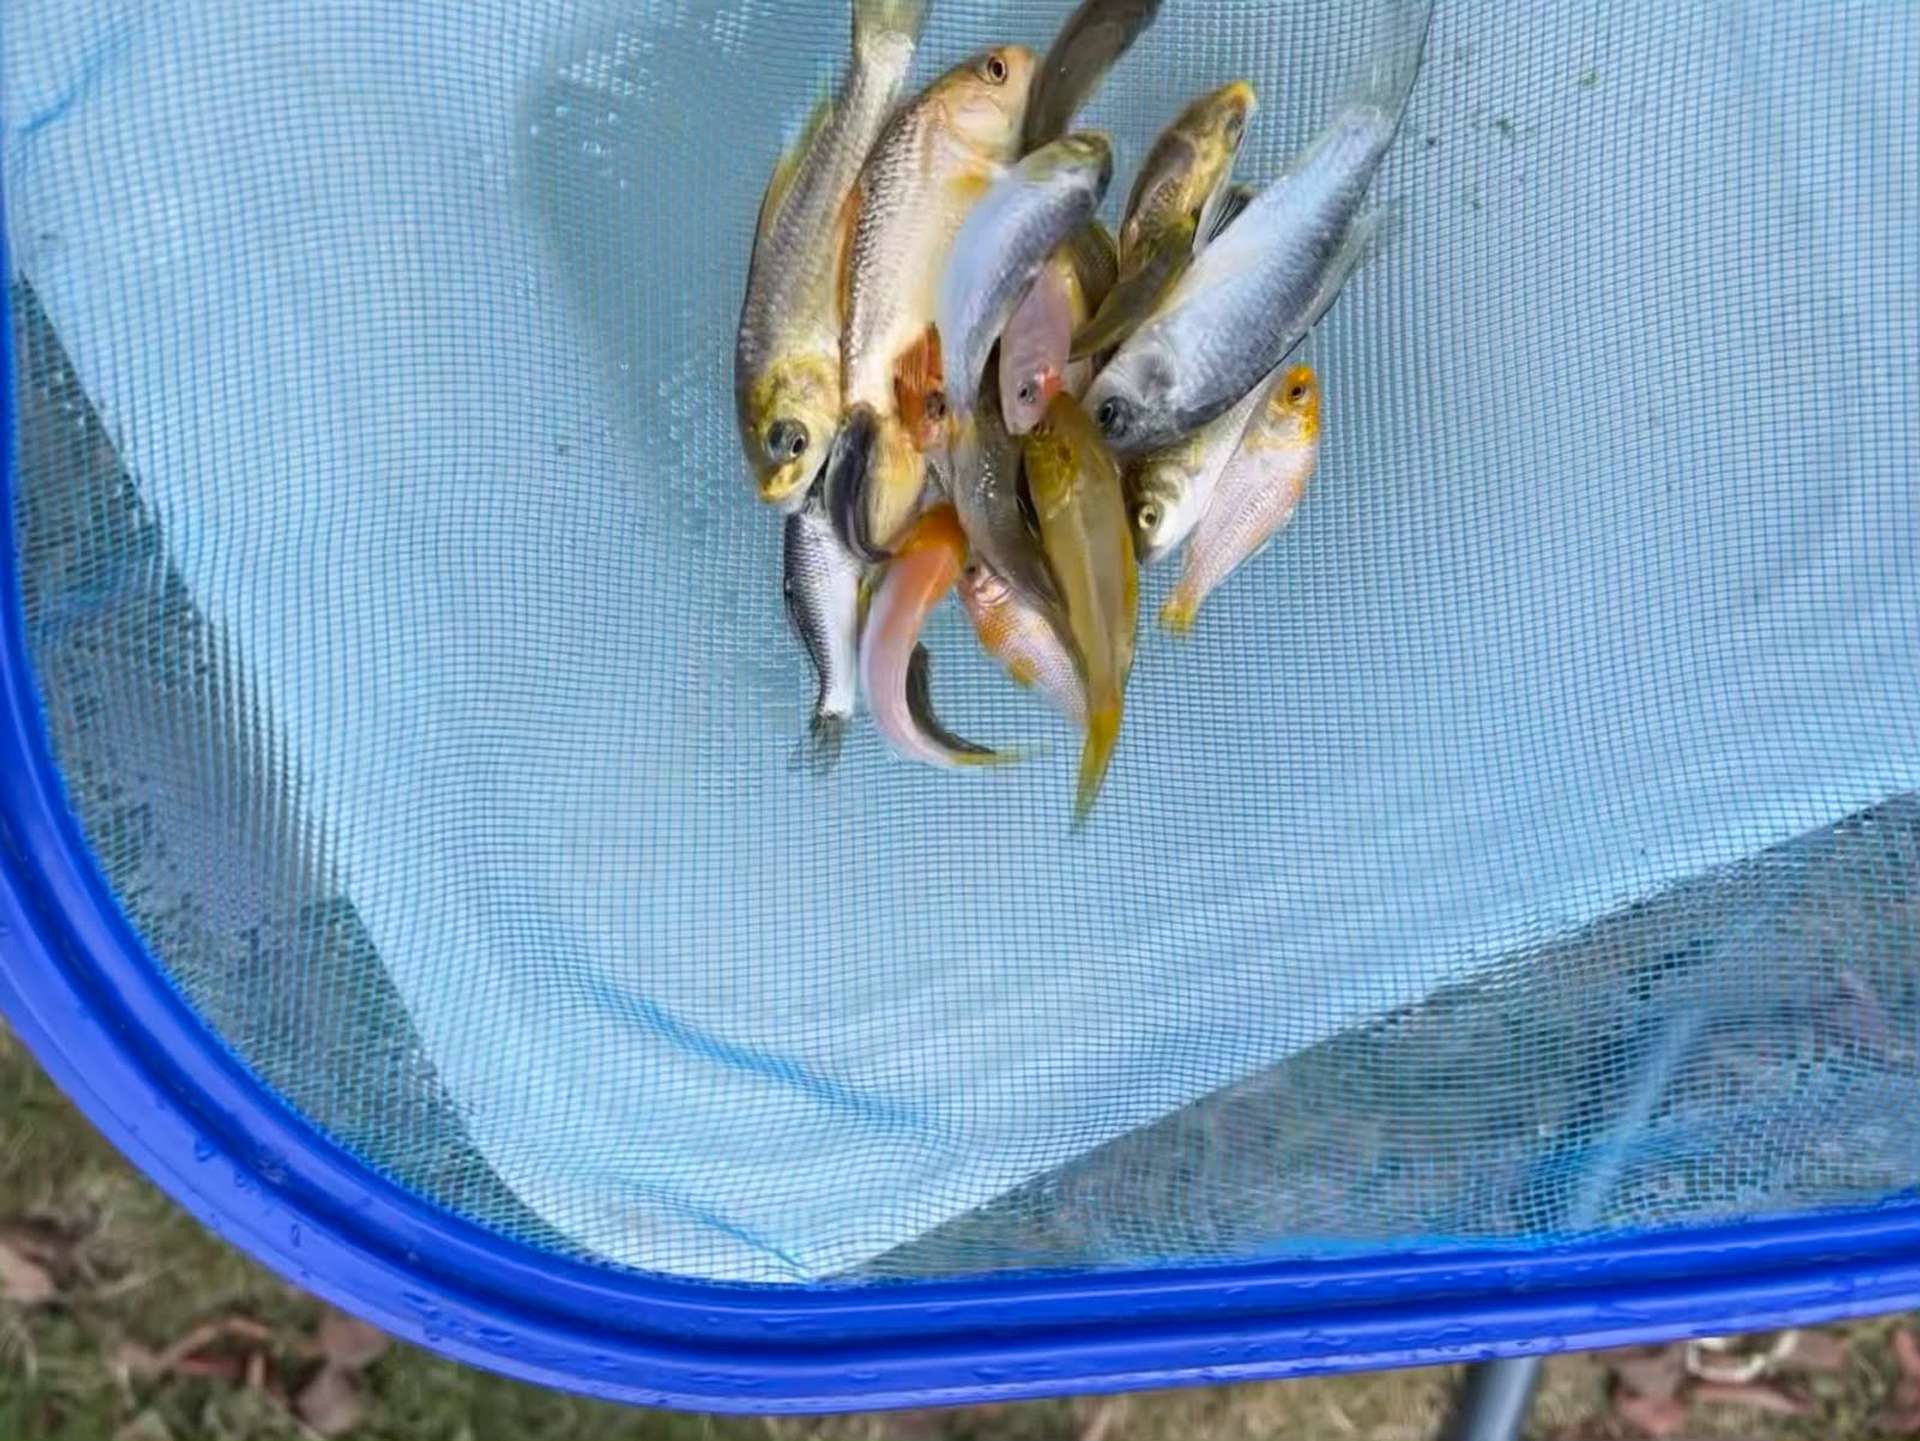
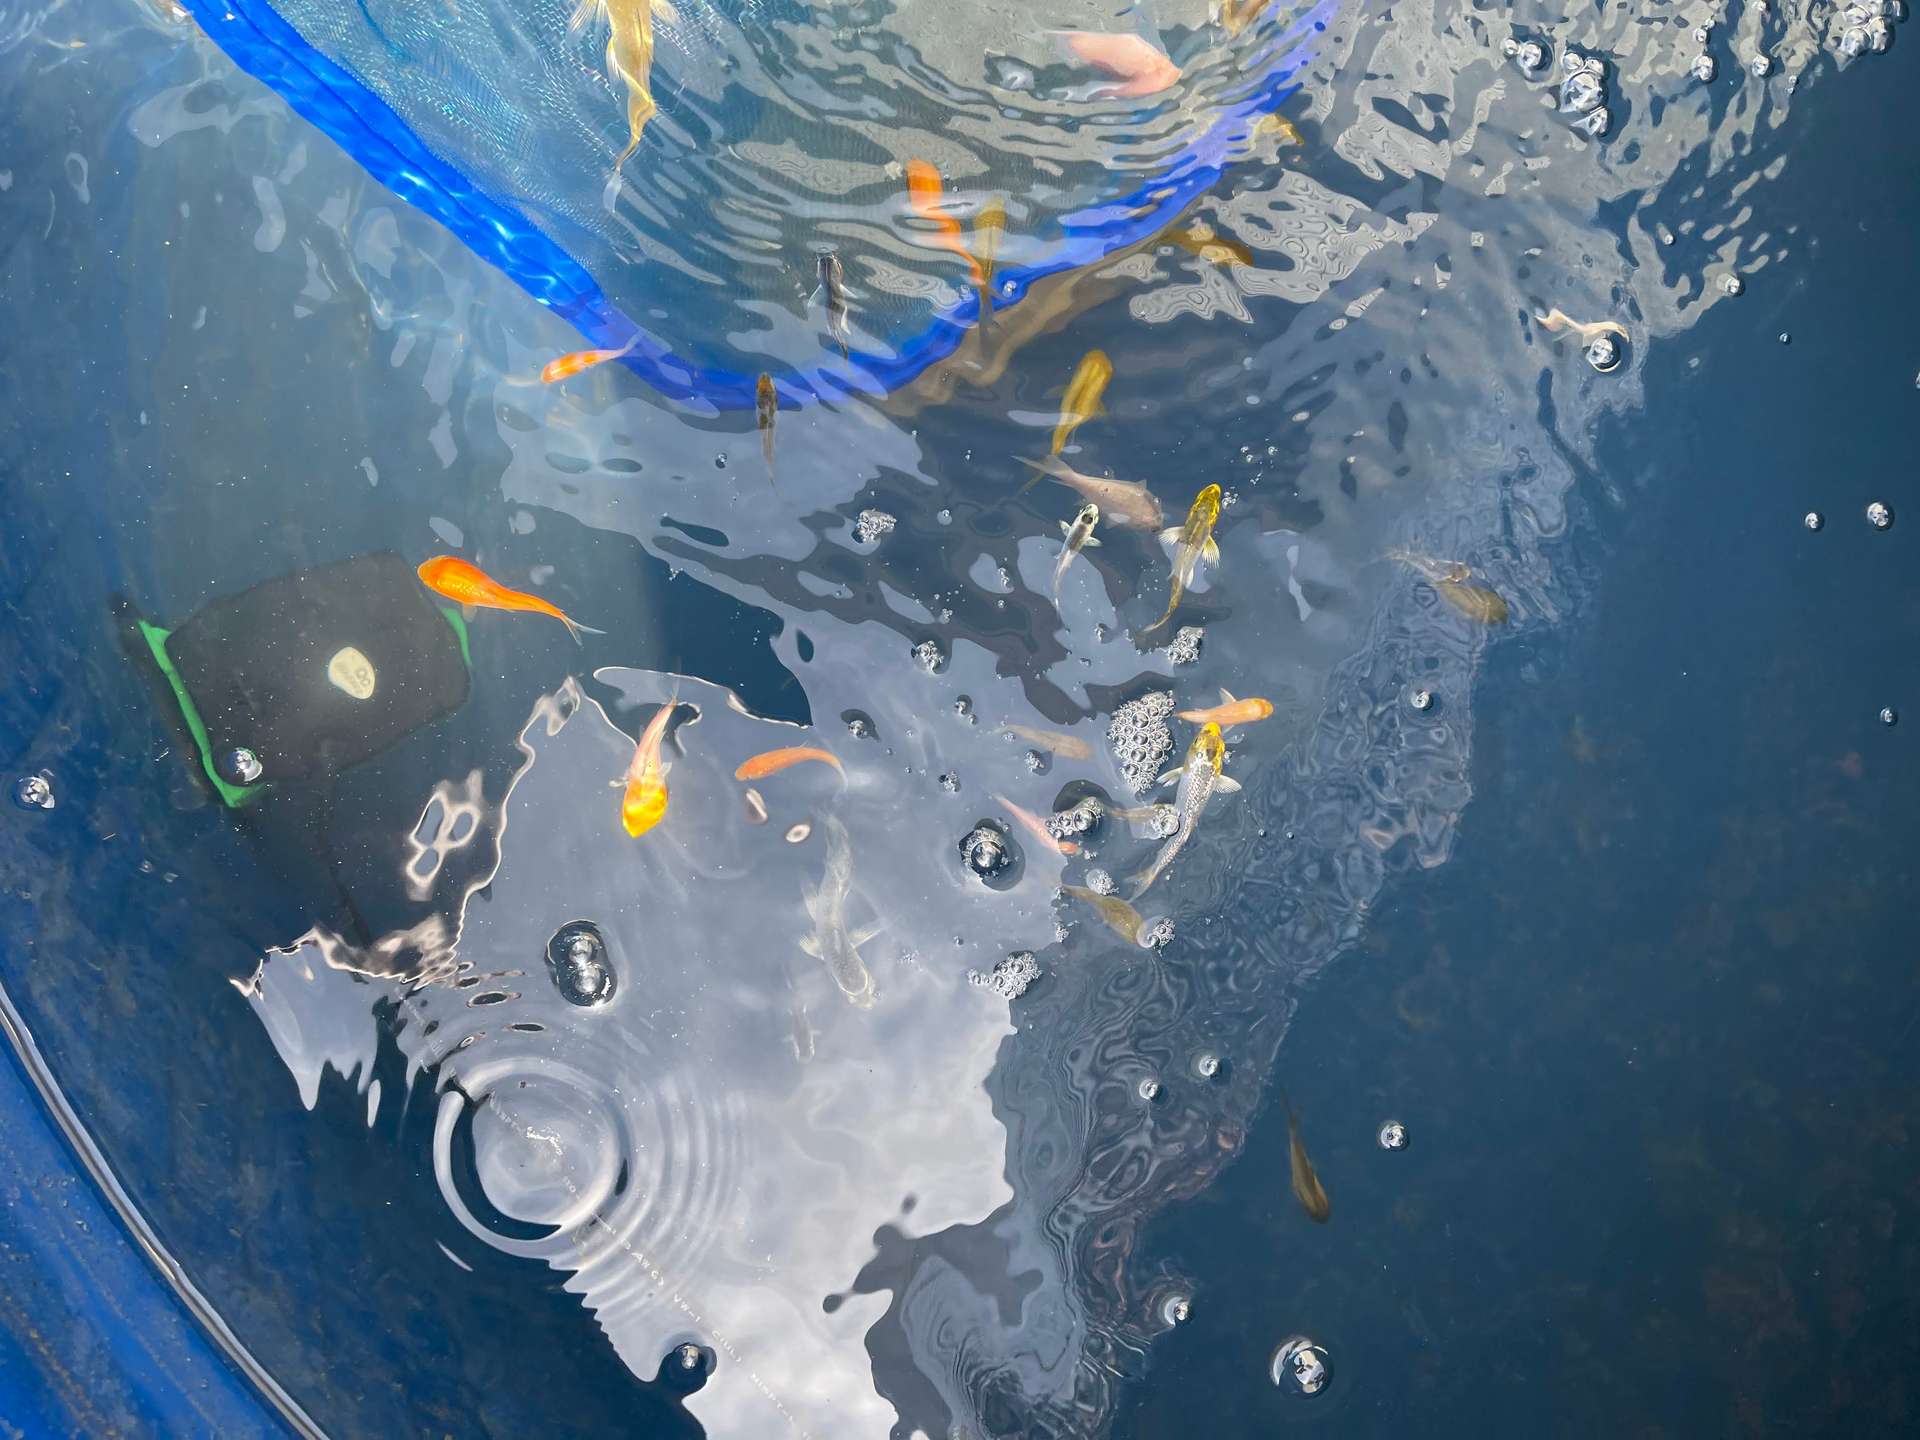
Once I knew the system was stable, I ordered the koi from Blackwater Koi. I received around 30-35 koi peanuts in the mail. They sure don't look like much when they're so small.
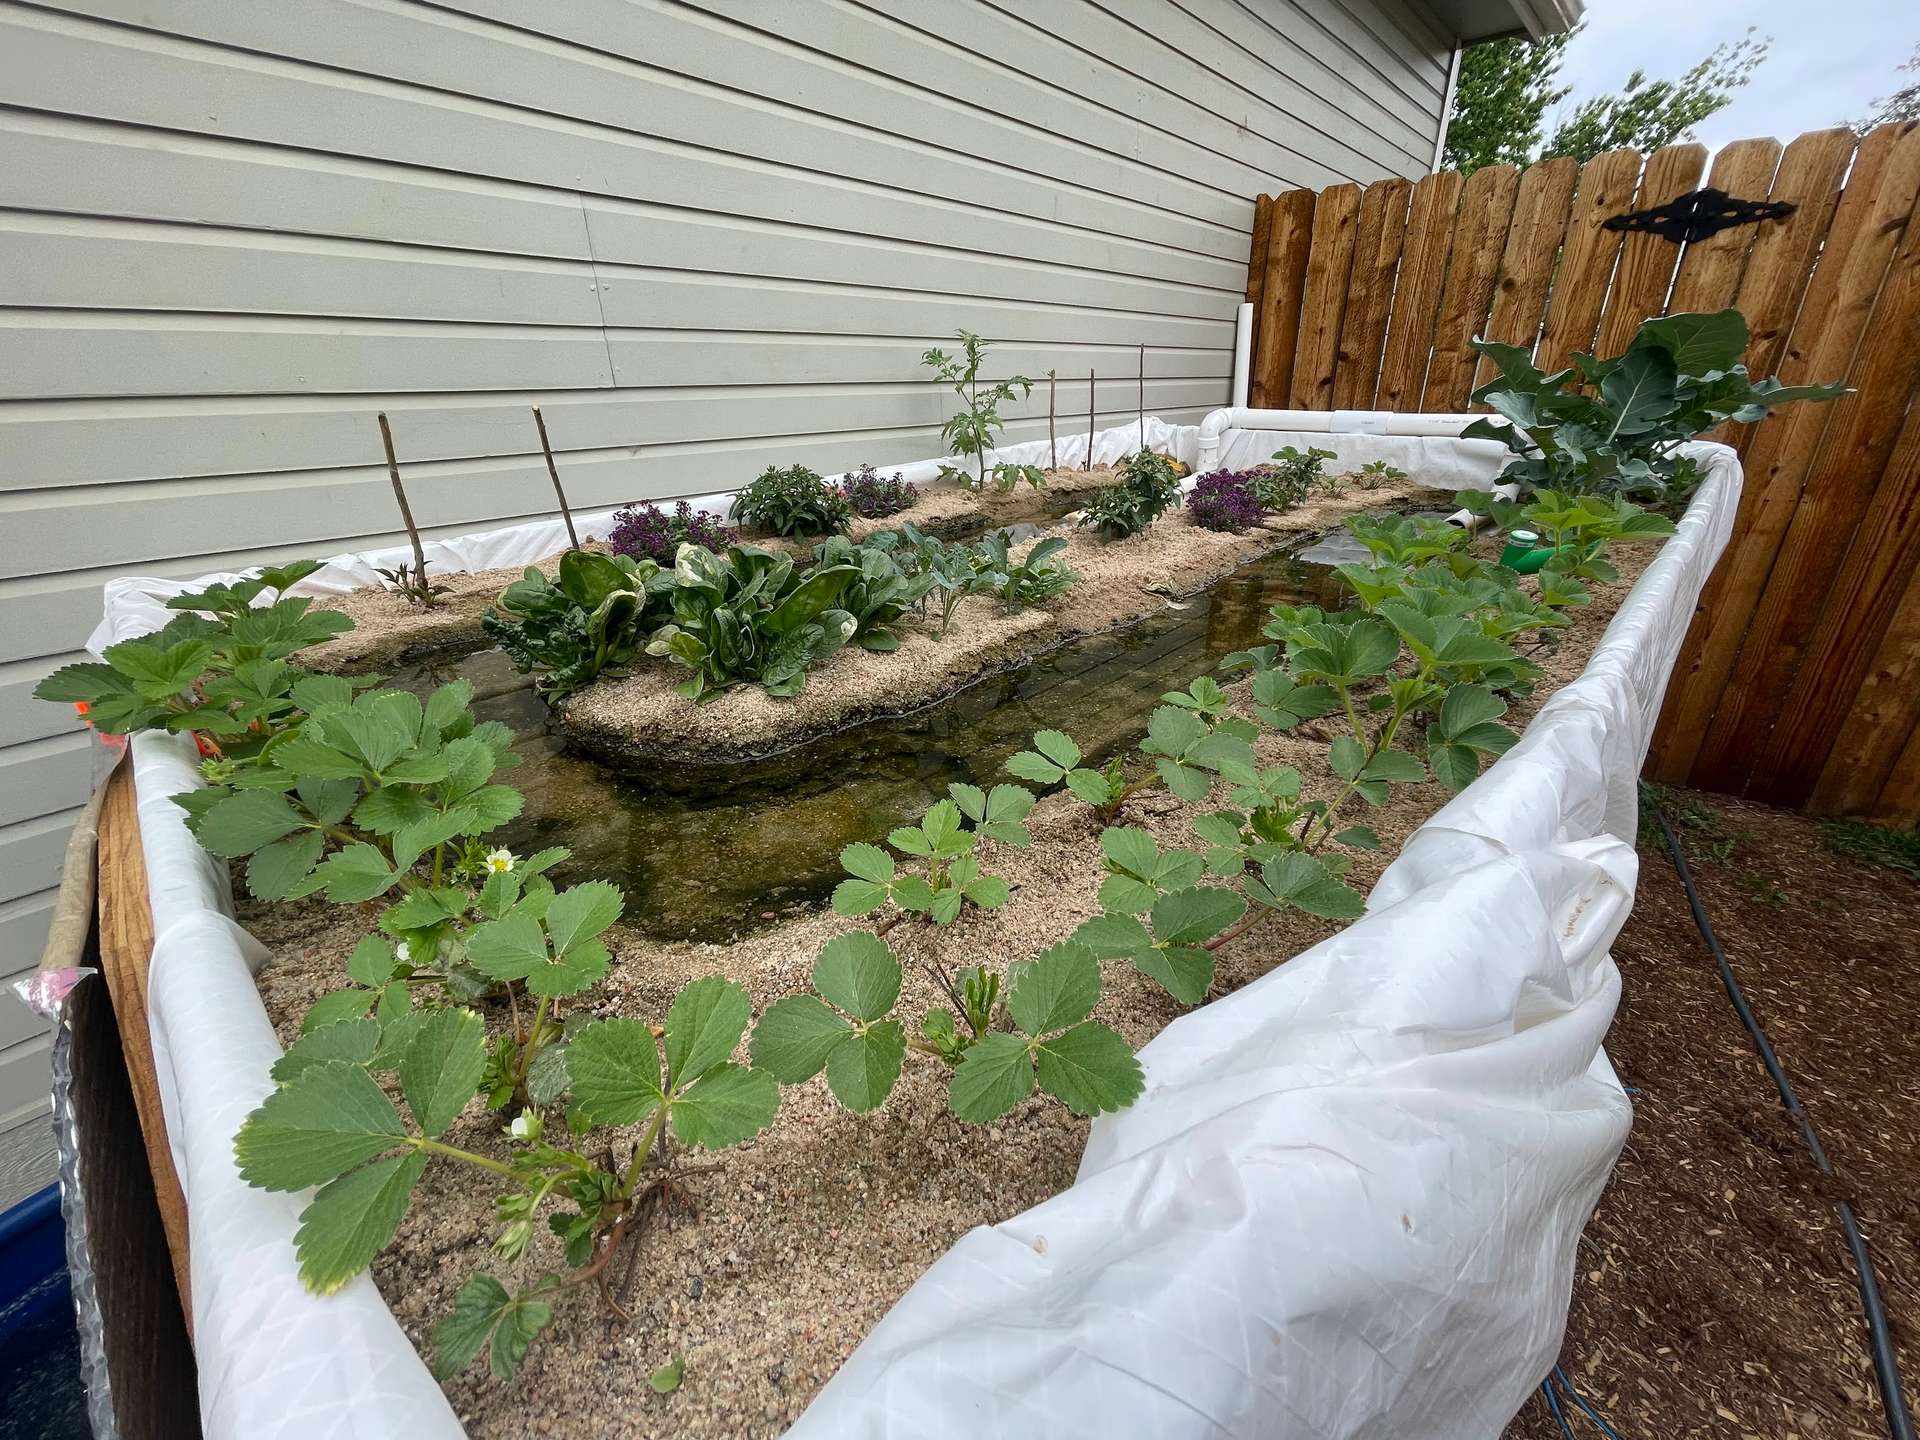
I made some furrows for the water to flow down. At first the water does wash away the walls a bit, but before long, a layer of detritus (which you can see in the title image) forms and it is much more firm.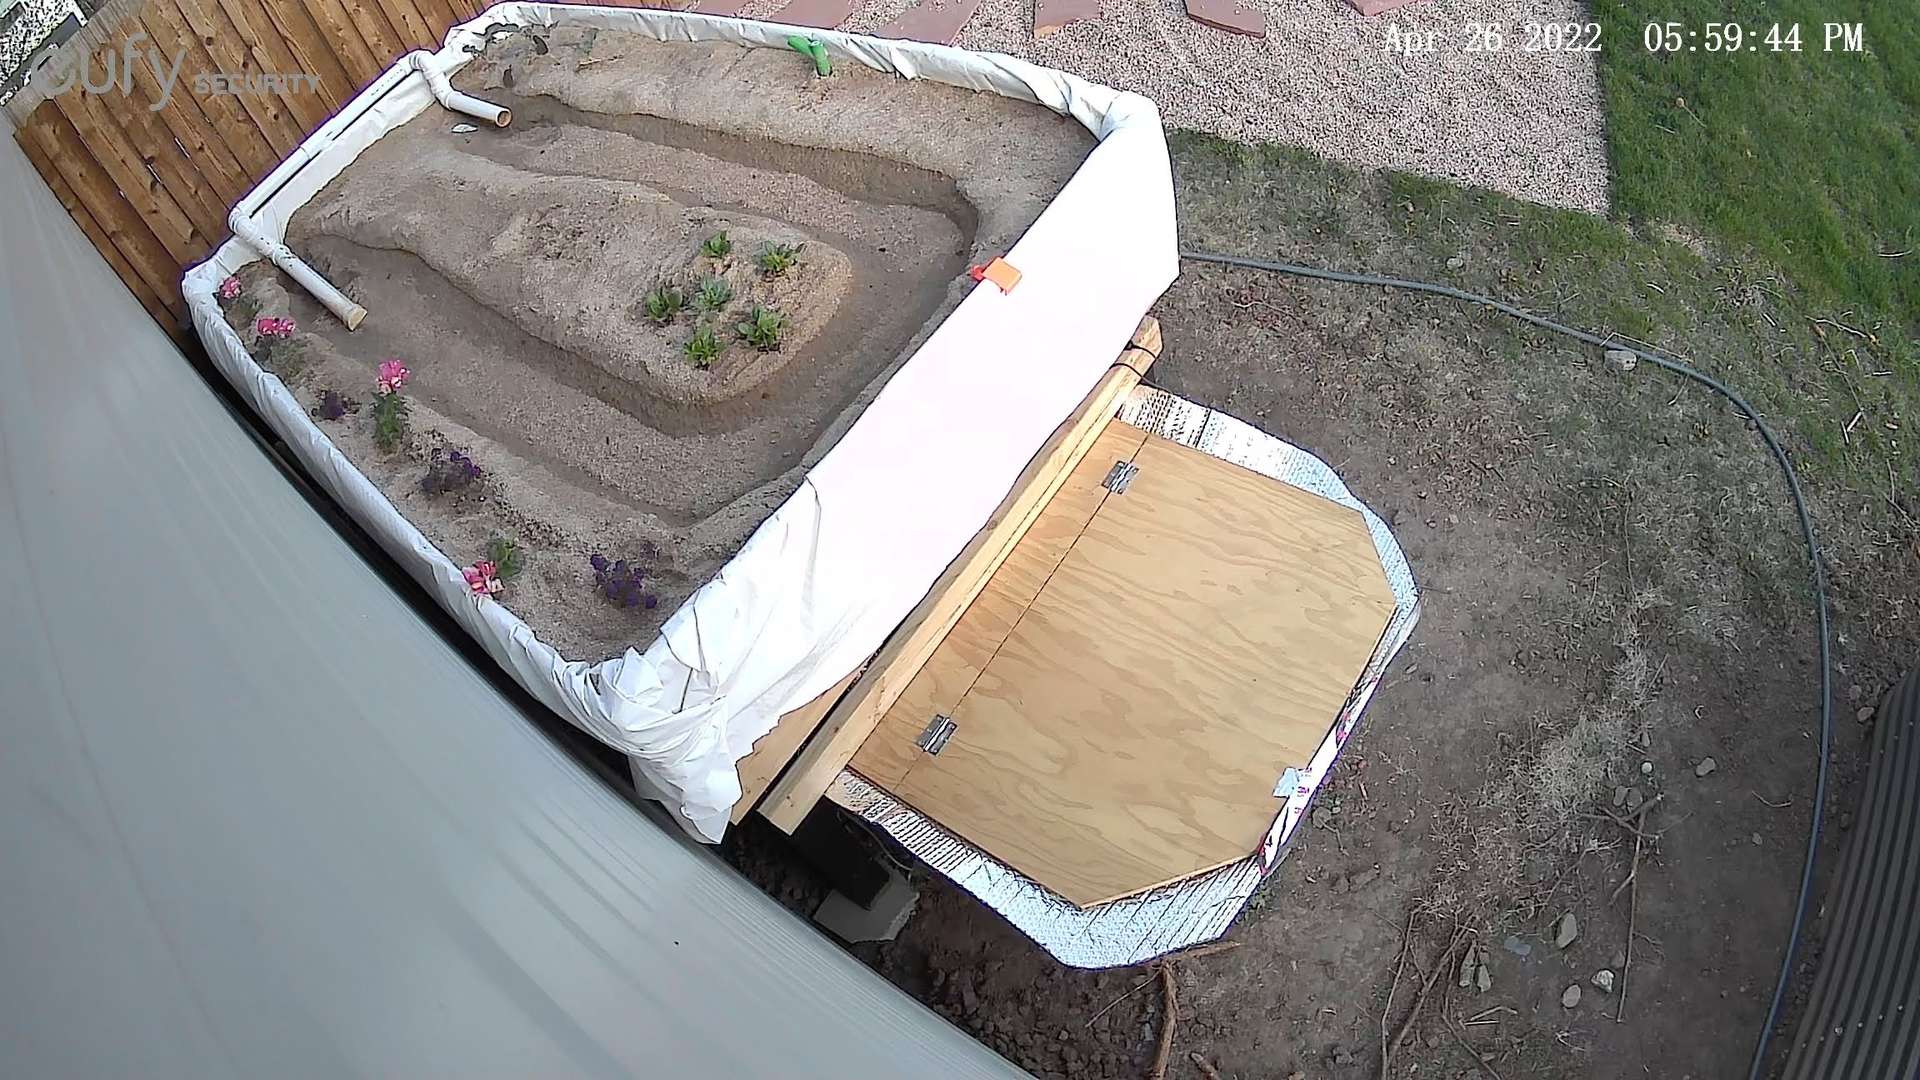
This was probably my favorite side effect. The bees love having a place to drink and the consistently moist sand appears to be the perfect option for them. When it gets dry, there are 5-10 bees drinking all day.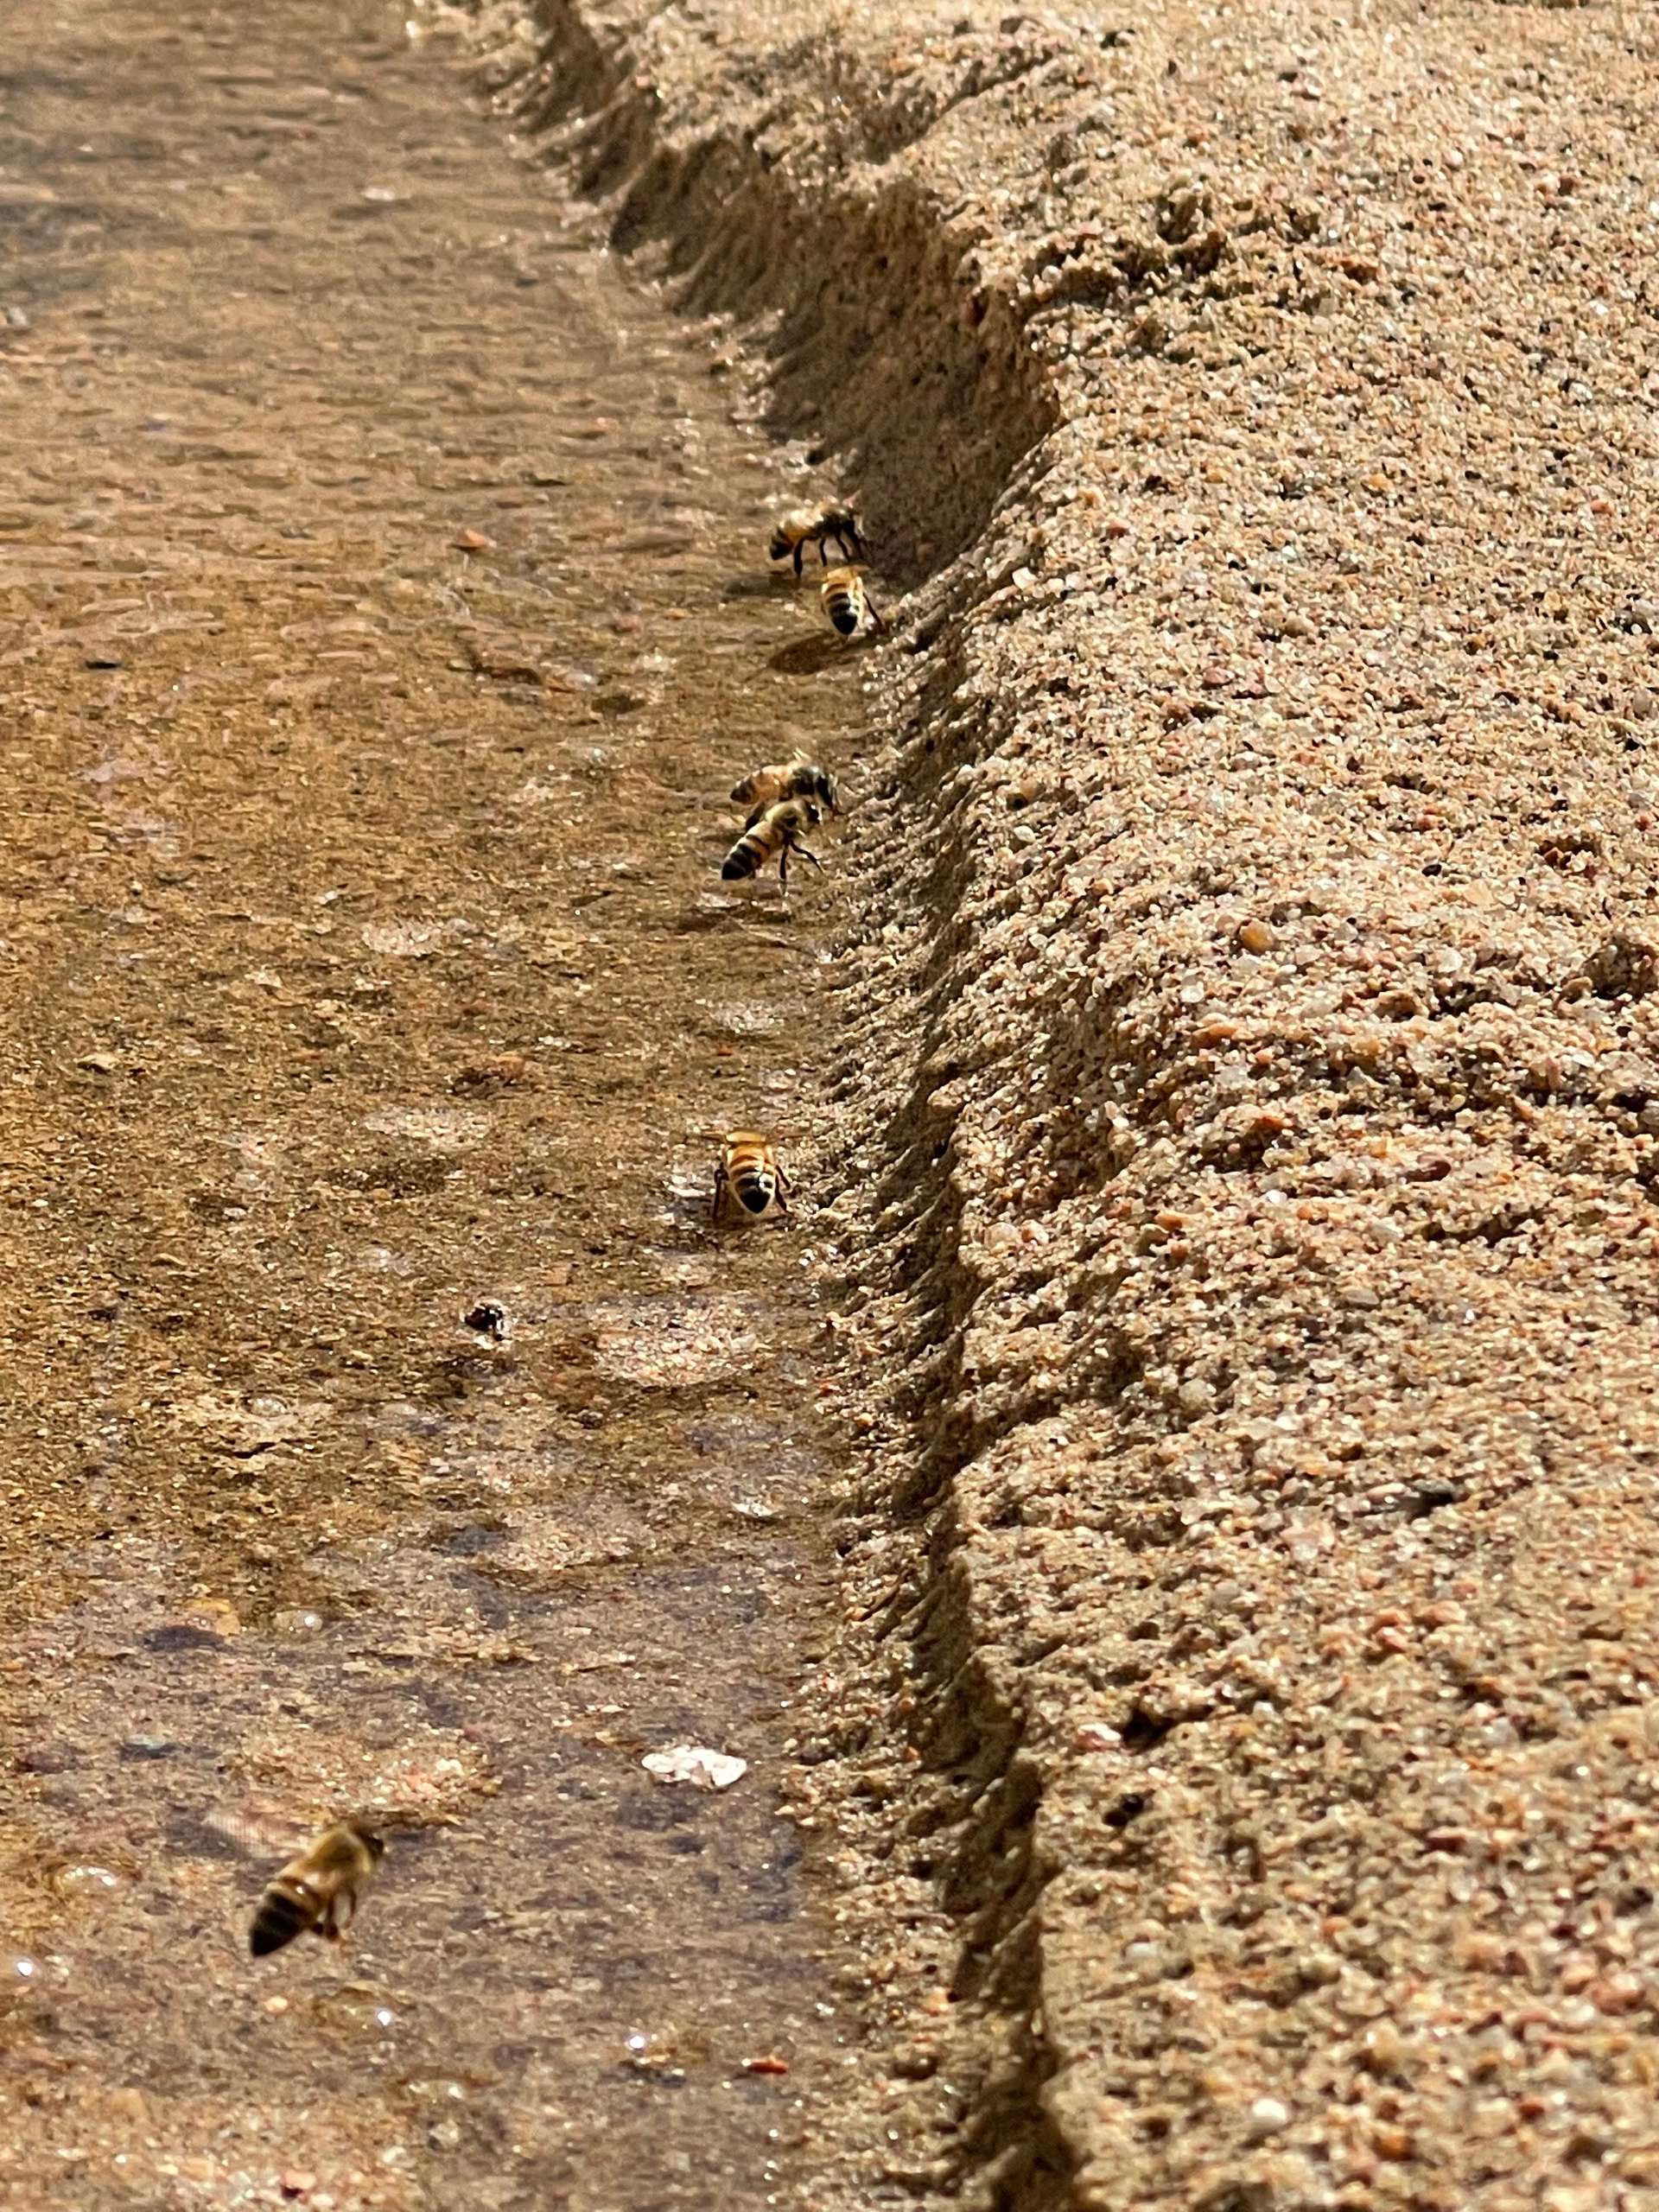
I'm working on more posts including diving into a little bit of automation, fish care, what plants will grow and which ones struggle. I'll be adding a vertical grow system, automatic feeder, and hopefully a small greenhouse over the top to hopefully grow in the shoulder seasons.
👋
Since you've made it this far, feel free to share this article on your favorite social media network! For feedback, please ping me on Mastodon.
Published